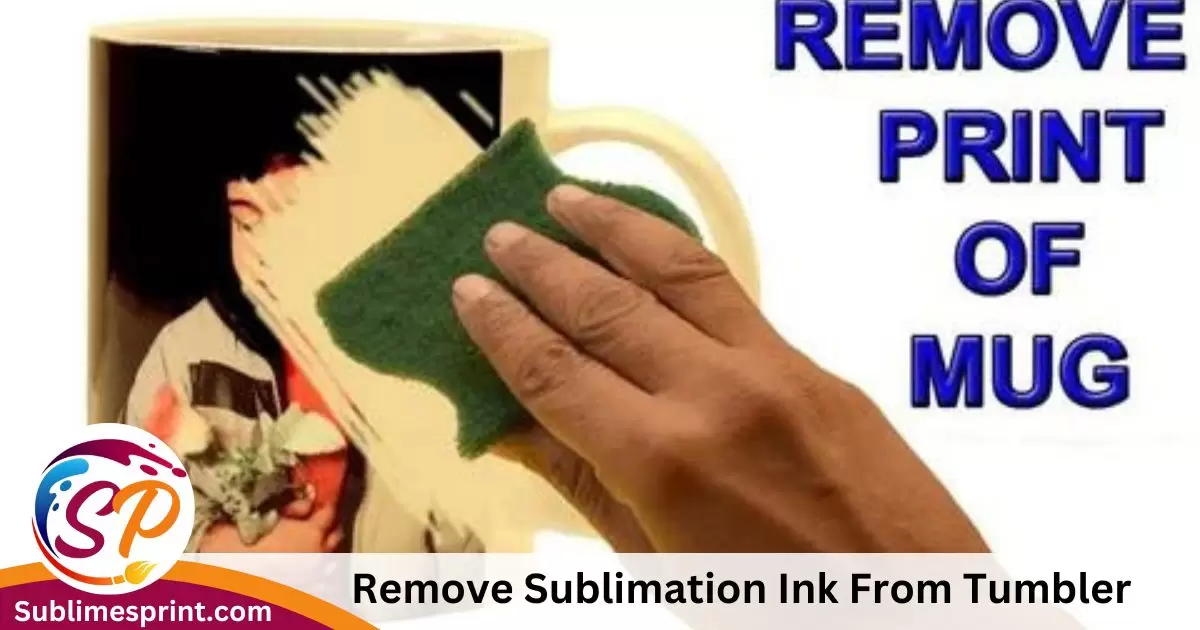
To remove sublimation ink from tumblers, you’ll need a craft-purpose convection oven or heat gun, isopropyl alcohol, a lint-free cloth, and heat-resistant gloves.
Hello there! We know making tumblers can be tricky sometimes. Sublimation printing looks neat, but it’s easy to mess up. Don’t worry, though; that’s what We are here for—to show you how to fix your tumbler mistakes.
We all make errors. Even experienced decorators will have prints go wrong. But it doesn’t mean you have to throw out that whole batch of tumblers. With the right techniques, you can remove the unwanted ink and try again. I’ll cover some easy methods to erase sublimation that you can do yourself.
Some simple tools and solutions around your house could save ruined tumblers from the recycling bin. In this guide, I’ll share natural ingredients and even high-tech tools to get rid of sublimation mistakes. No matter what kind of tumbler or how dark the print, there is almost always a way to reset it without starting over completely.
By the end, you’ll feel more comfortable making tumblers, knowing errors aren’t the end of the world. Best of all, being able to fix your own tumblers means saving money instead of constantly ordering new blanks. I hope these tips make sublimation decorating more fun and less frustrating when things don’t turn out perfectly the first time. Let’s get started on solutions to erase sublimation ink mistakes!
Home Remedies for Sublimation Mistakes
Baking Soda Can Scrub Away Light Prints:
One easy thing to try is baking soda. It’s very gentle but can remove fainter sublimation ink. Get some baking soda and mix it to a paste with just a little bit of water. Use your fingers or a soft cloth to lightly rub the paste on the tumbler where the print went wrong. Circular motions help the baking soda scrub the ink away. Rinse with water when you’re done. This works well for faded sublimation or small mistakes.
Boiling Helps With Vinegar or Lemon Juice:
Putting the tumbler in a pot of boiling liquid can also lift sublimation prints. Fill a pot with water, and add either vinegar or lemon juice. The acids in these help break down the ink. Boil your tumbler for 5 minutes, then scrub with a soft cloth or wash in the sink. This is good for full tumblers or whole design erasures. Just don’t boil certain types of tumblers, like ones made of glass.
Keep Rubbing With Alcohol and Qtips:
For tough stains in small spaces, try rubbing alcohol on a Q-tip. Dip the Q-tip in the alcohol and gently wipe the stained area. Rubbing alcohol dissolves the sublimation ink without being too harsh. This works well for detailed or curvy parts of the tumbler. Go slow and layer it on if needed to fully remove the print mistake.
DIY Sublimation Ink Removers
Make a Baking Soda Paste:
Sometimes the basic baking soda on its own isn’t strong enough. Try mixing it into a thicker paste using water. The extra binding helps it scrub off prints better. Add just enough water to form a spreadable dough. Gently rub all over the tumbler and wipe clean. This homemade paste lifts ink more thoroughly than loose baking soda alone.
Cream of Tartar Can Also Help:
Another pantry powder that removes sublimation is cream of tartar. Mix it into a liquid, like water or white vinegar, until it forms a creamy solution. Apply to tumbler areas with mistakes and scrub gently. Let it soak for 5 minutes before rinsing clean. The acid in cream of tartar breaks down ink pigments better than some other ingredients.
Lemon Oils Cut Through Prints:
For a refreshingly scented cleanser, rub a cotton ball dipped in lemon essential oil on the tumbler. The citrus oil cuts through that sublimated ink. Go lightly at first since oil can stain if used too much. Rinse off any leftover oil residue to keep a shiny finish. It smells great too!
Specialty Removal Tools
Rubber Erasers Made for Sublimation:
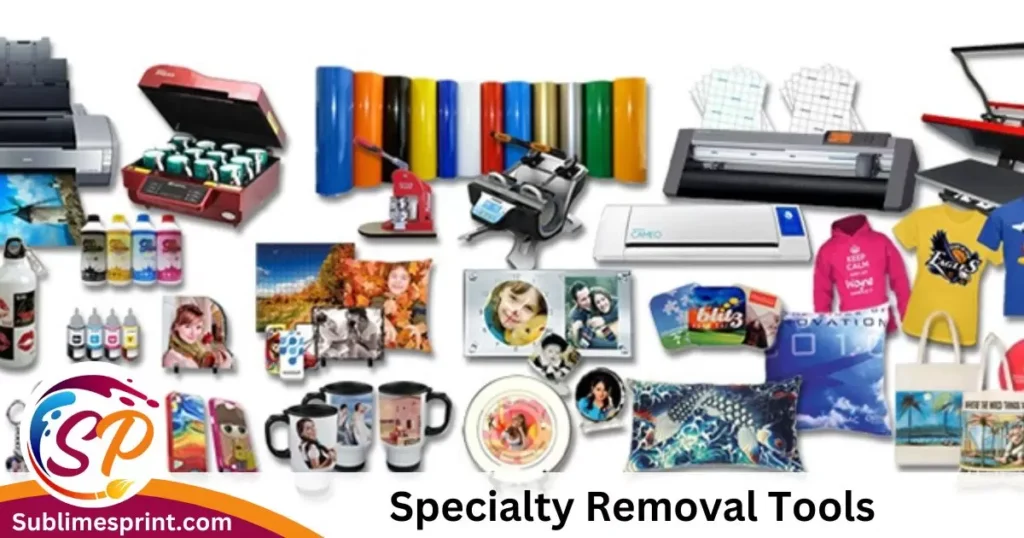
Some stores sell special eraser sheets designed just for removing sublimation ink. They are made of soft rubber that gently rubs away prints without scratching. Run it over problem spots with light pressure until clean. These professional tools get into smaller spaces better than household items.
DIY Eraser Sheets are Budget-Friendly:
If those store erasers are expensive, try making your own version. Cut soft rubber (like an old eraser) into rectangles. Spread a thin layer of rubbing compound or cleanser on one side. Wipe a tumbler where the ink went wrong. It lightly lifts the color without harming the surface. Renew the compound as needed between uses.
Glass Cleaners Also Dissolve ink:
Certain glass cleaners at art stores contain ingredients to dissolve similar inks used for glass etching. Spray these cleaners on tumblers and wipe off smeared sublimation prints. Be sure to test small areas first in case these stronger formulas damage certain materials over time.
Read Also: Can You Sublimate On Recycled Polyester: YES…..2024
Professional Removal Methods
Pressure Washing Gets Ink Deep Cleans:
For heavy sublimation mistakes, consider taking tumblers to a car wash that offers pressure washing. The high-powered spray breaks down even stubborn inks. Go with a low PSI setting and keep several feet away. Great for durable outer surfaces on mugs, jars, or other containers.
Commercial Etching Solutions Work Fast:
Some graphics shops have glass etching solutions to deeply clean surfaces. These strong chemicals fully remove all traces of sublimated designs. Provide clear instructions for safe handling. Results are usually immediate, but you lose the original print. It is best as a last resort to completely reset a tumbler.
Lasers Ablation Removes Everything:
The most thorough pro method uses laser ablation machines. A focused laser burns away any material, including deep sublimation ink layers. Companies can do bulk custom orders to reset large batches of tumblers for reprinting. Expensive service, but a true blank slate option.
Weighing Professional Services:
In summary, higher-tech solutions achieve full erasure but require special equipment. Consider costs versus saving heavily stained pieces. As always, test small areas first if you are unsure how products will affect specific materials. With patience and creativity, there are often DIY solutions too.
Tips for Full Sublimation Removal
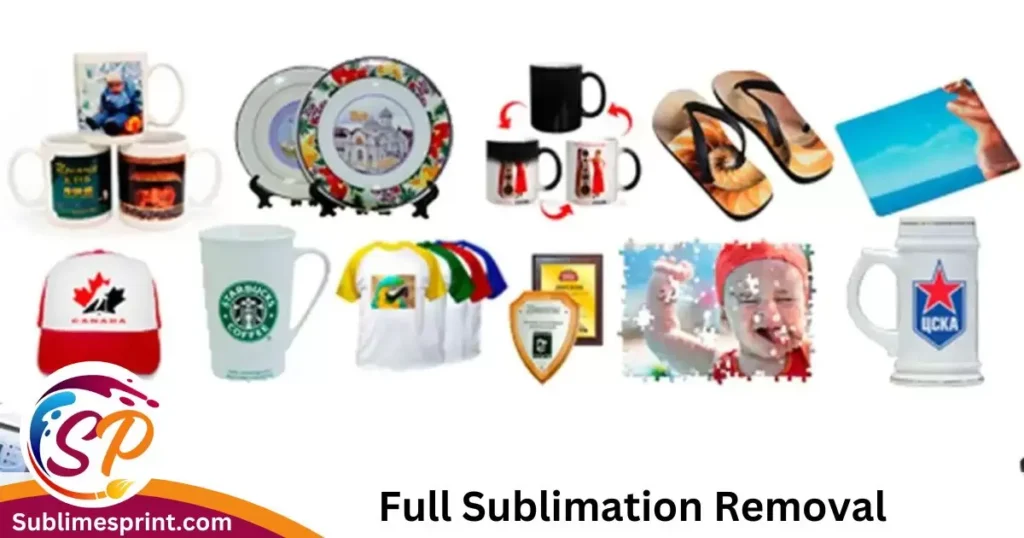
Patience is Key for Stubborn Stains:
Don’t get frustrated if the first try doesn’t remove all the sublimation ink! These printed pigments can really stick around. Give solutions longer contact time, like letting homemade pastes soak and reapplying between rinses. Have faith that with layered cleaning, the stain will come off.
Go with the Grain of Printed Lines:
When scrubbing, rub in the direction of how the design was printed, not against it. The ink tends to embed more with the flow. Gently working with the grain can help lift it faster than scrubbing sideways.
Spot-test your cleaners first:
Not all concoctions will be suitable for every tumbler material. Always do a small test in an unseen area to check for damage first. And go easy; you can’t ‘un-scrub’ something if a solvent strips special coatings by mistake.
Combination Attacks Work Best:
Trying multiple remedies one after the other is sometimes the most effective strategy. A soak, then bake, then rub with an abrasive-tag teaming solution disturbs sublimation ink from different angles for complete removal.
Monitor Your Progress:
Take breaks when scrubbing to examine how much stain has lifted so far. Adjust your techniques based on what seems to be weakening the ink the fastest. Seeing improvement will motivate you through tough cleanups.
Avoiding Future Sublimation Mistakes
Use Templates and Test Prints:
Creating templates on paper or vinyl first helps catch design flaws before sublimating. Mockups let you double-check sizing and spacing so prints come out as planned. Test prints on scrap material show how colors will truly appear.
Choose Mistake-Proof Locations:
Locate designs away from tumbler edges, seams, and intricate areas that are hard to clean thoroughly. Sublimation ink may linger in crevices, no matter what. Limit prints to flat and straightforward surfaces when possible.
Get a Second Opinion on Final Proofs:
Having someone else review final digital files and physical prints can spot issues you may have overlooked. A fresh set of eyes catches small formatting errors or color inconsistencies that lead to print mistakes.
Mark Scrapped Pieces Clearly
If the stains won’t budge despite your best efforts, mark the rejected tumblers permanently so they don’t get resold by accident later on. This avoids confusing customers or wasting time on mislabeled stock.
Organized Storage for Blank Cups
Clearly bag, bin, or box unused tumblers together to avoid grabbing the wrong empties. Separate containers per material type and size prevent mixing that results in ruined prints down the road. Neat storage saves headaches!
FAQs:
Does rubbing alcohol remove printer ink?
Yes, rubbing alcohol can help remove regular printer ink. The alcohol dissolves and breaks down ink pigments, so they wipe away. It works best on fresh prints.
Does sublimation printing come off?
Sublimation ink can sometimes come off tumblers using the right removal methods. By scrubbing with solutions like baking soda or applying heat, the bonding between ink and tumbler weakens, so it rubs away.
Can you epoxy over a sublimated tumbler?
Epoxy resin won’t stick well to sublimated surfaces because the ink seals the tumbler. It’s best to fully remove the sublimation first so the epoxy has a clean surface to adhere to properly.
How do you remove sublimation residue?
To remove leftover sublimation ink residue, try scrubbing with gentle abrasives like baking soda paste or cleaning with solvents like rubbing alcohol on a cotton ball. Go slowly and be patient, since residue can be stubborn.
Do you remove sublimation hot or cold?
Both hot and cold methods can work to remove sublimation. Applying heat with a low oven bake or boiling water helps ink bubble up for easier removal. Cold scrubbing with solutions also works by wearing ink away over time.
How do I remove ink from my Epson 2720?
To remove dried ink from an Epson 2720 printer, use alcohol-based cleaning fluid or ammonia-free Windex on a cotton cloth. Wipe ink residue from print heads and surfaces. You can also run print head cleaning cycles to flush out clogged nozzles.
Does vodka remove ink?
Vodka can partially remove some inks because alcohol dissolves ink pigments. However, rubbing alcohol or acetone works better as they have a higher alcohol content. Vodka alone may not fully remove all inks.
What alcohol is best for removing ink?
Rubbing (isopropyl) alcohol works best for removing inks because it has a high alcohol percentage of 70%. Other alcohols, like vodka, have a lower alcohol content, so they may not completely dissolve ink residues.
Can I sublimate a tumbler twice?
You can try sublimating a tumbler twice if you fully remove the first print. Make sure to completely erase the original design before re-inking; otherwise, the colors may mix or be muted by the underlying layers. Thorough ink removal is key to getting bright results on second prints.
Final Thoughts
In closing, I hope sharing these tested techniques gives you confidence to try fixing your own tumbler mistakes. Whether home remedies, DIY concoctions, store-bought tools, or professional services, there are always multiple options. Finding what method suits specific mugs best takes experimenting.
Benefits of Reusing Versus Reprinting:
Being able to erase flubs saves money versus reordering blank tumblers. It also prevents waste that comes from scraping imperfect prints. With patience and the right solutions, almost any tumbler can be reworked rather than trashed.
Sustainable Practices Are Rewarding:
Not only does restoration protect your wallet, but keeping original tumblers in use helps the environment too. Reducing what enters landfills by fixing small errors is better for our planet. Creativity through challenges has rewards beyond the finished product, too.
More Questions? Just Ask!
I hope these sublimation removal strategies solve problems next time mistakes happen. Feel free to reach out if you have any other decorating questions down the road too. Keep having fun crafting, and remember, it’s all about learning as you go!

I’m Matthew Porter, the creative mind behind “Sublimes Print.” I’ve been having a blast creating all sorts of cool stuff with ink and paper. At Sublimes Print, we’re all about turning your ideas into vibrant, eye-catching prints. Let’s make your imagination come to life on paper—join me in the fun at Sublimes Print!
