One issue is that productivity is not as fast as traditional methods because sublimation paper doesn’t dry as quickly.
To start, use any sublimation printer to print the design on transfer paper. Let it dry for approximately 5-10 minutes for coated paper or about 1 minute for regular uncoated Sublimation paper.
Hey, creative pals! If you’re into making regular stuff look super cool and unique, you’re in the right place. Today, we’re delving into the world of sublimation printing – where your imagination can run wild. Our focus? A really important part of the process: drying your sublimation paper.
Meet our buddy Sarah Sublimator. She’s just like you – wanting to make her prints look as awesome as possible. In this guide, we’re going to unravel the secrets of sublimation paper and drying. The mission? To make your prints burst with colors and look super clear!
Why Drying Sublimation Paper is a Big Deal
Before we get into the nitty-gritty, let’s talk about why drying is a big deal. Imagine this: You’ve made a super cool design, put it on sublimation paper, and now you’re waiting for the magic to happen. But guess what? The magic doesn’t stop with the printing. It moves on to a really, really important step: drying.
Drying is like the final touch that turns a good print into an absolute masterpiece. When you do it right, it makes the colors stand out, prevents smudges, and ensures your creations stick around for a long time. Our buddy Sarah figured this out, realizing that the last step is just as important as the first.
How Long to Let Sublimation Paper Dry
Okay, let’s talk about the waiting game – how long you should let your sublimation paper dry. Think of it like waiting for your favorite cookies to bake – you need just the right amount of time for perfection!
So, how long should you wait? It depends on a couple of things. If your print is big and fancy, it might need a bit more time. Also, the room you’re in plays a part. If it’s a hot day, things might dry up quicker.
Here’s a general rule to keep in mind: patience is key. Rushing might lead to smudges, and nobody wants that. Our pal Sarah learned this when she noticed that giving her prints the time they needed made a huge difference.
Factors That Affect Drying Time
Now, let’s chat about what plays a role in drying time:
Humidity Levels: If the air is super wet, like after a rainy day, drying might take a bit longer.
Temperature: Hotter days can speed up the process, but don’t leave your prints out in scorching heat.
Paper Quality: Thicker paper might need a tad more time to dry than thinner options.
Real-World Tips for Success
Want to hear some real talk from our friend Sarah? She discovered that using a fan or a bit of warmth from a heat press can help speed things up without compromising quality. It’s like giving your prints a gentle boost to the finish line!
Best Practices for Sublimation Paper Drying
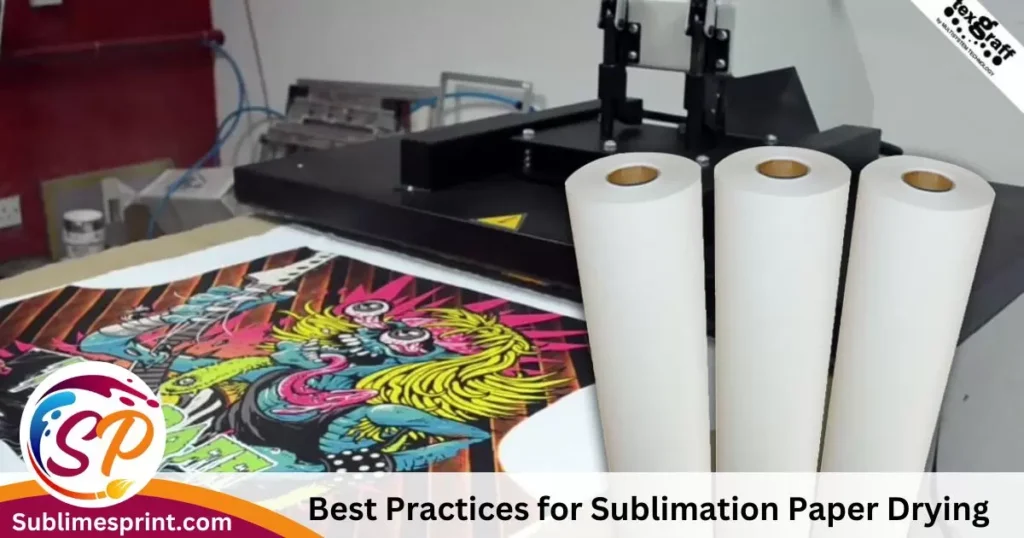
Alright, creative champs, you’ve mastered the waiting game. Now, let’s talk about making the sublimation paper drying process as smooth as possible.
Quick-Drying Methods
Heat Press Magic: Sarah’s go-to move is using a bit of warmth from a heat press. It’s like giving your prints a cozy hug and saying, “Hey, dry up and look awesome!”
Friendly Fan Support: If you’re feeling fancy, a fan can be your print’s best friend. Gentle air circulation can speed things along without making a mess.
Testing Sublimation Paper Dryness
How do you know if your prints are ready to shine? Sarah suggests a simple touch test. Lightly tap the print – if it feels dry and smooth, you’re good to go. If it’s still a bit sticky, give it a little more time.
Smudging Prevention and Quality Control
Nobody likes a smudged masterpiece. To prevent this, be mindful of where you place your prints to dry. Make sure they’re not touching each other, and avoid stacking them until they’re completely dry. This simple step can save you from potential color mishaps.
Sarah also recommends a quick quality check before moving on. Take a moment to admire your creation and ensure everything looks just as you imagined. It’s like giving your prints a final inspection before they go out into the world.
Read also: Can You Sublimate On Plastic?
Troubleshooting and Improving Drying Efficiency
Sometimes, despite your best efforts, things might not go as planned. But don’t worry – it happens to the best of us. If you notice uneven drying or other issues, take a step back and evaluate. Adjust your drying conditions, try a different method, and don’t be afraid to experiment until you find what works best for you.
Advanced Techniques for Curing Sublimation Prints
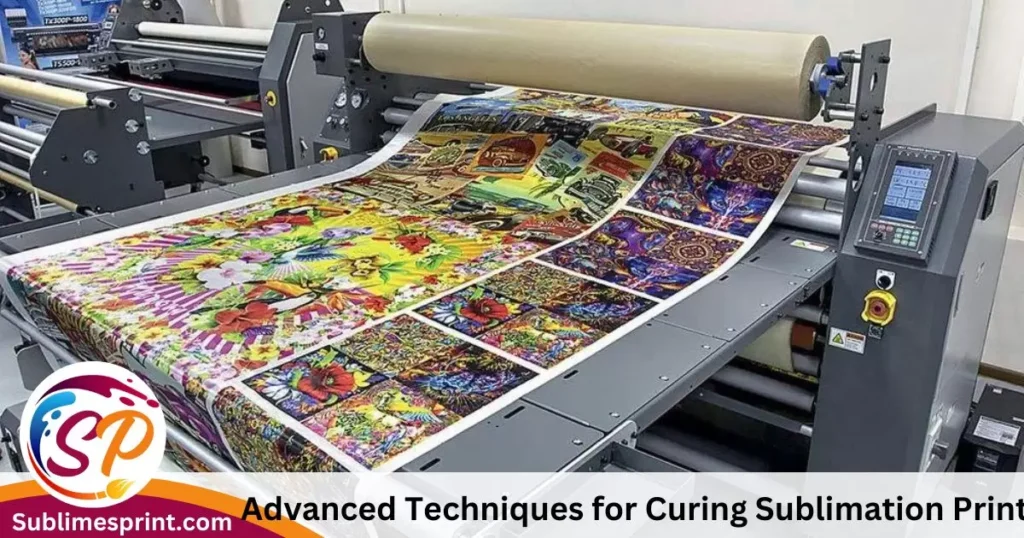
Alright, creative wizards, you’ve aced the basics of sublimation paper drying. Now, let’s take it up a notch and explore advanced techniques for ensuring your prints not only look fantastic but also stand the test of time.
Introduction to the Curing Process
Curing is like the superhero move that secures the brilliance of your prints. After drying, it’s time to set those colors in place for the long haul. Think of it as locking in the magic you’ve created.
Using Drying Chambers for Consistent Results
Ever heard of a drying chamber? It’s like a cozy home for your prints during the crucial curing phase. These chambers control temperature and humidity levels, ensuring an environment where your prints can cure consistently. Sarah discovered that investing in a drying chamber elevated the quality of her prints and made the process more predictable.
Incorporating Curing into the Overall Workflow
Now that you’re a curing pro, it’s time to seamlessly integrate it into your printing routine. Sarah suggests making curing a deliberate part of your workflow. Once your prints are dry, transfer them to the curing phase without delay. This ensures a smooth transition and maximizes the vibrancy of your designs.
FAQs
Do you flip sublimation?
Yes, flipping is part of the sublimation magic! When you print your design, it looks like a mirror image. The heat and pressure during the sublimation process flip the image onto your item, creating the final, non-mirrored masterpiece.
Can you sublimate on black shirts?
Sublimation loves lighter colors. It’s like a color superhero on white and light-colored shirts. On black shirts, though, the magic won’t work as well. The colors might not pop, and you won’t get that vibrant result. Stick to the light side for sublimation fun!
Is it better to sublimate on cotton or polyester?
Sublimation is best friends with polyester. It loves the smooth, synthetic fibers, making colors pop and designs last. Cotton, not so much. Sublimation needs a polyester-rich environment to truly shine.
What are the downsides of sublimation vs. screen printing?
Sublimation is awesome for vibrant, detailed designs on polyester, but it has its quirks. It’s not the go-to for dark fabrics, and it works best on specific materials. Screen printing, on the other hand, is versatile but can be a bit tricky with intricate details. Each has its strengths, so it depends on what you’re creating!
Can you use sublimation paper twice?
Nope, sublimation paper is a one-time player. Once it’s done its job transferring your design, it’s not as effective the second time. For the best results, use fresh sublimation paper for each printing adventure.
Conclusion
Bravo, creative maestros! You’ve navigated the intricate world of sublimation paper drying and dived into the advanced realm of curing. With a sprinkle of patience, a dash of creativity, and the right techniques, you’re now equipped to create prints that not only dazzle but endure the test of time.
As you embark on your printing adventures, remember the key takeaways:
Patience Pays Off:
Giving your prints the time they need to dry and cure is like letting a masterpiece unfold. Rushing might lead to smudges and color mishaps.
Clever Techniques:
From using a heat press for a cozy hug to considering a drying chamber for consistent results, there’s a range of clever techniques at your disposal. Experiment, find what works best for you, and enjoy the process.
Quality Control Matters:
Before sending your prints out into the world, take a moment to inspect them. Ensure they meet your standards and are ready to make a lasting impression.
Seamless Workflow:
Integrate drying and curing seamlessly into your overall printing workflow. This ensures a smooth transition and maximizes the vibrancy of your designs.

I’m Nicholas Clark, the creative soul behind “Sublimes Print.” I’ve been bringing ideas to life with ink and paper, and I want you to be a part of it. At Sublimes Print, we’re all about making your prints a masterpiece. Join me in the creative journey at Sublimes Print, where every print tells a unique story!