Hey there, crafters! Ever wondered how to turn your cool designs into even cooler, personalized items? Print on sublimation paper. Well, get ready to dive into the world of sublimation paper printing – where your imagination takes center stage!
In this guide, we’re going to learn together, step by step, how to use sublimation paper to bring your creations to life.
Sublimation paper is like magic paper for printing. It’s super special because it helps your designs stick onto things like mugs, shirts, and more.
But wait, there’s a trick! You need the right kind of sublimation paper to make the magic happen.
How to print on sublimation paper? Use the heat press to push the image onto the clothing and keep it there for the recommended time based on the type of garment.
So, join us as we explore what makes sublimation paper awesome and how to pick the perfect one for your projects. Get ready for a crafting adventure!
Setting Up Your Creative Space
So, you’ve got your sublimation paper and are raring to go! But first things first – let’s create a dedicated space for all the crafting fun.
Choosing Your Crafting Corner
Find a cozy spot where you can work without any interruptions. It could be a table in your room or a corner of the kitchen counter. Make sure it’s a clean and tidy space so that your creations come out looking spick and span.
Gathering Your Tools
What’s a superhero without their trusty sidekick? Similarly, a crafter needs the right tools. Collect your printer, sublimation inks, sublimation paper, and a heat press machine if you have one. Having everything in one place makes crafting a breeze!
In the next section, we’ll explore how to pick the perfect design for your project and get it ready for the magic of sublimation printing. Ready, steady, craft!
Choosing and Preparing Your Awesome Design
Now that your creative space is all set up, it’s time to choose the perfect design for your project. Let’s dive into the fun part!
Ideas for Personalized Projects
Think about what you love – maybe it’s your favorite cartoon character, a special quote, or even a doodle you made yourself. These personal touches make your creations unique. Brainstorm and jot down ideas to get those creative juices flowing.
Using Design Software (It’s Easier Than It Sounds!)

Don’t worry if you’re not a computer whiz. There are simple design tools online that are easy to use, even for beginners. Check out tools like Canva or PicMonkey. Upload your design, play with colors and shapes, and voilà – you’ve just become a design pro!
Making Sure Your Design Loves Sublimation
Not all designs are best friends with sublimation. To ensure a lasting friendship, go for high-resolution images with vibrant colors. Adjust the size if needed, and you’re ready for the next exciting step – printing!
In the upcoming section, we’ll guide you through the step-by-step process of printing your chosen design onto the magical sublimation paper. Let’s keep the crafting adventure rolling!
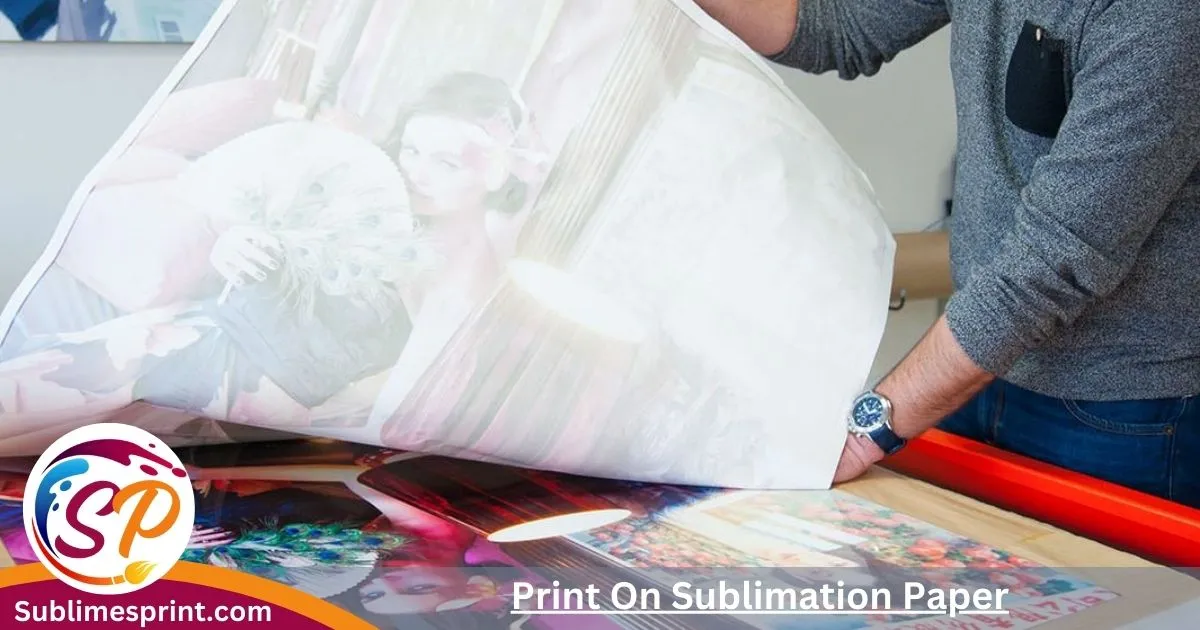
Printing Magic: Step-by-Step Guide
You’ve got your design, and now it’s time to work the printing magic on that special sublimation paper. Let’s make your creation come to life!
Preparing Your Image or Design
Before hitting that print button, ensure your design is in tip-top shape. Choose high-resolution images for crisp prints, and make any necessary adjustments in colors and sizes. This step sets the stage for a picture-perfect outcome.
Loading Sublimation Paper into the Printer
Alright, it’s showtime! Handle your sublimation paper with care, and load it into your printer. Adjust the settings to match the type of paper you’re using. Need a tip? Check the sublimation paper packaging for recommended settings – it’s like having a secret code for perfect prints!
The Printing Process Unveiled
Now, let’s get that printer buzzing. Follow the printer’s instructions, and watch as your design magically appears on the sublimation paper. It’s like watching a masterpiece unfold right before your eyes!
Crafting Brilliance: Heat Pressing Your Sublimation Print
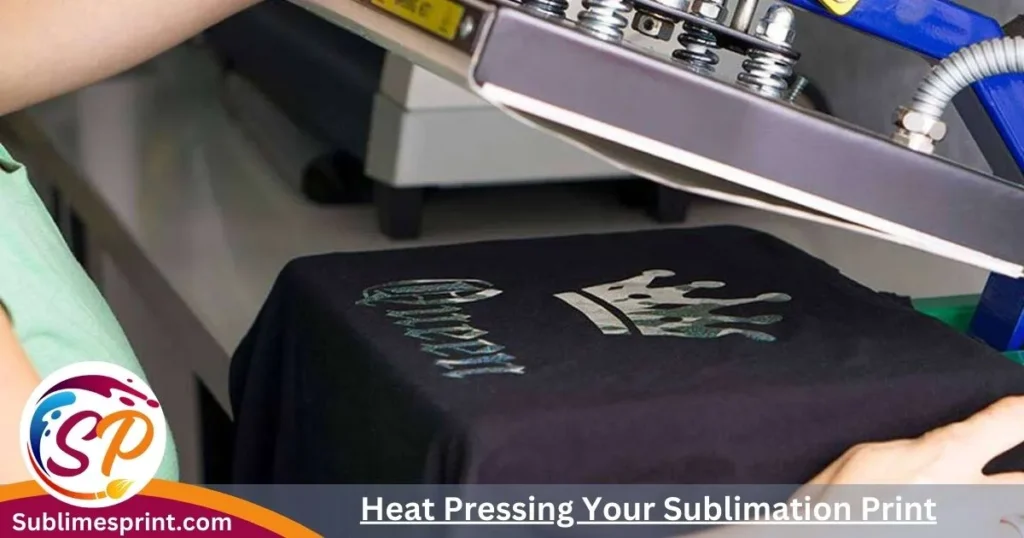
You’ve successfully printed your design onto the sublimation paper, and now it’s time to bring the magic to the next level through the art of heat pressing. Get ready to make your creation truly shine!
Preparing the Heat Press Machine
Think of the heat press as your crafting iron, but with a touch of wizardry. Make sure it’s clean and ready to roll. Adjust the temperature and time settings according to the instructions provided with your sublimation paper. Pro tip: If in doubt, refer to the heat press manual for the perfect combo.
Read Also: How To Make Sublimation Stickers?
Setting the Stage for Sublimation
Lay your sublimation paper with the printed design onto the item you’re jazzing up – be it a mug, a shirt, or another surface. Position it carefully to ensure the design comes out just as you envisioned.
The Magic of Heat and Pressure
Close the heat press and let the magic happen. The combination of heat and pressure works wonders, making the sublimation inks on your paper turn into vibrant gases that fuse with the material. It’s like giving your creation a warm and cozy hug!
Finishing Touches and Quality Checks
You’ve navigated through the printing and heat pressing stages – now, let’s put the final polish on your masterpiece. It’s time for those finishing touches and quality checks to ensure your creation is nothing short of spectacular!
Cooling and Removing Sublimation Paper
Once the heat press has worked its magic, it’s crucial to let your creation cool down. Be patient – good things come to those who wait! Carefully remove the sublimation paper from your item, unveiling the vibrant, permanent design beneath.
Inspecting the Final Print
Take a moment to admire your handiwork. Does the design look as vivid and sharp as you envisioned? Check for any smudges or imperfections. If something seems amiss, don’t worry – we’ll dive into troubleshooting shortly.
Troubleshooting Common Issues Post-Pressing
Encountered a hiccup? No worries! We’ll troubleshoot common post-pressing issues together. Whether it’s color discrepancies or uneven prints, we’ve got you covered with practical solutions to keep your crafting journey smooth.
Creative Adventures: Unleashing Sublimation Prints in Unique Ways
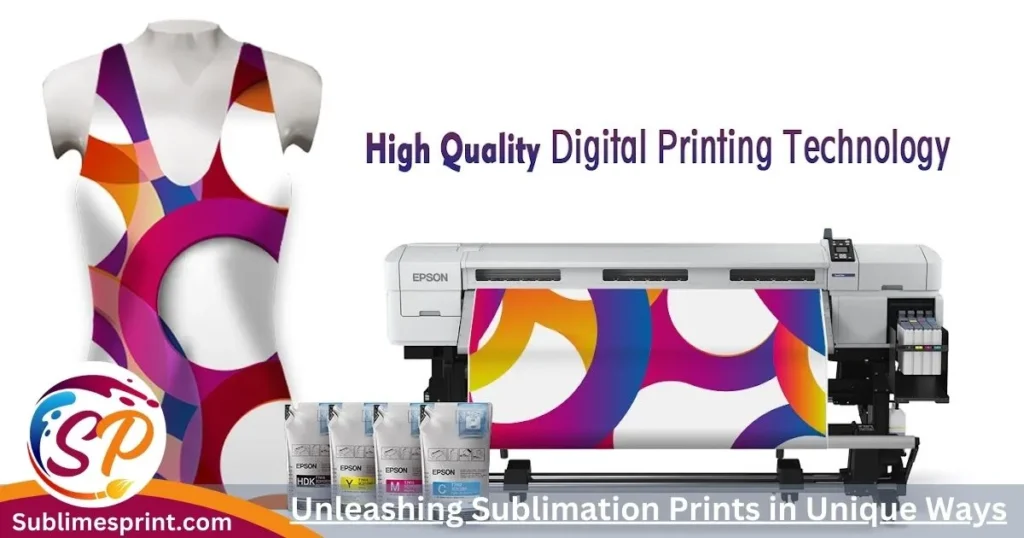
Congratulations on reaching this stage! Now that you’ve mastered the art of sublimation printing, let’s explore the myriad ways you can infuse your creative touch into various projects.
Showcasing Different Applications
Sublimation prints are versatile and can breathe life into a variety of items. Consider personalizing mugs, T-shirts, phone cases, or even creating unique home decor pieces. Your creativity knows no bounds, so experiment with different surfaces to see what truly speaks to you.
Encouraging Experimentation with Unique Projects
Don’t be afraid to push the boundaries of your creativity. Try sublimating onto unconventional materials or combining prints for a layered effect. The more you experiment, the more you’ll discover about the endless possibilities sublimation printing offers.
Sharing Success Stories and Examples
Inspire others and showcase your own success stories. Share pictures and stories of your sublimation adventures on social media or crafting communities. You never know who you might inspire to embark on their own creative journey!
Crafting Secrets: Tips and Tricks for Sublimation Success
You’ve rocked your sublimation prints, and now it’s time to sprinkle some crafting magic dust to ensure every project is a success. Let’s dive into some easy tips and best practices!
Taking Care of Your Tools
Just like superheroes need their gadgets, your crafting tools need some love too. Regularly clean your printer, check the ink levels, and keep your workspace tidy. Happy tools mean happy crafting!
Storing Your Sublimation Paper and Prints
Think of your sublimation paper and prints as treasures. Store them in a cool, dry place to prevent wrinkles and color fading. Keep them away from direct sunlight, and they’ll be ready for your next crafting adventure.
Troubleshooting Common Hiccups
Encountered a problem? No stress! If your colors look a bit off or your print is uneven, don’t panic. Check your printer settings, ensure your design is top-notch, and follow our troubleshooting guide. You’ll be back to crafting perfection in no time!
People also ask
Can you print on sublimation paper with a regular printer?
Yes, you can use sublimation paper with a regular printer, but it needs to be compatible with sublimation inks. Regular printers use different inks, so you’ll need to make sure your printer is set up for sublimation.
How do you use sublimation printing paper?
Using sublimation printing paper involves choosing or creating a design, adjusting printer settings, and loading the paper into a sublimation-ink-compatible printer. After printing, the design is transferred onto a material using a heat press.
Which side do you print on sublimation paper?
Always print on the coated, brighter white side of sublimation paper. The coating helps absorb the sublimation inks, ensuring a vibrant and detailed transfer onto your chosen material.
What kind of printer prints on sublimation paper?
A sublimation printer is specifically designed for sublimation printing. These printers use sublimation inks, which turn into gas when heated, transferring the design from the paper to the material. Regular printers won’t work unless they are converted to use sublimation inks and paper.
Conclusion
And there you have it, fellow crafters – you’re now a sublimation printing wizard! We’ve explored the wonders of sublimation paper, set up your crafting haven, chosen the perfect design, printed with finesse, and added that extra touch of magic with heat pressing.
Remember, the world of crafting is vast, and your journey has just begun. Whether you’re personalizing everyday items or exploring new creative heights, let your imagination soar. Share your successes, learn from your experiments, and most importantly, have fun on this crafting adventure!
Got questions or itching to share your crafting triumphs? We’re here for it! Drop your queries, stories, or feedback below, and let’s keep the creative flame burning bright. Happy crafting, wizards of the creative realm!

I’m James Wilson, the driving force behind “Sublimes Print.” I’ve been deep in the world of sublimation printing, bringing my expertise and hands-on experience to the table. With a robust background in the art of sublimation printing, I’m all about sharing insights, exploring industry innovations, and fostering a collective appreciation for the craft.
So, join me on this printing journey, where we dive into the intricacies of sublimation and celebrate the beauty it brings to the world of printing!