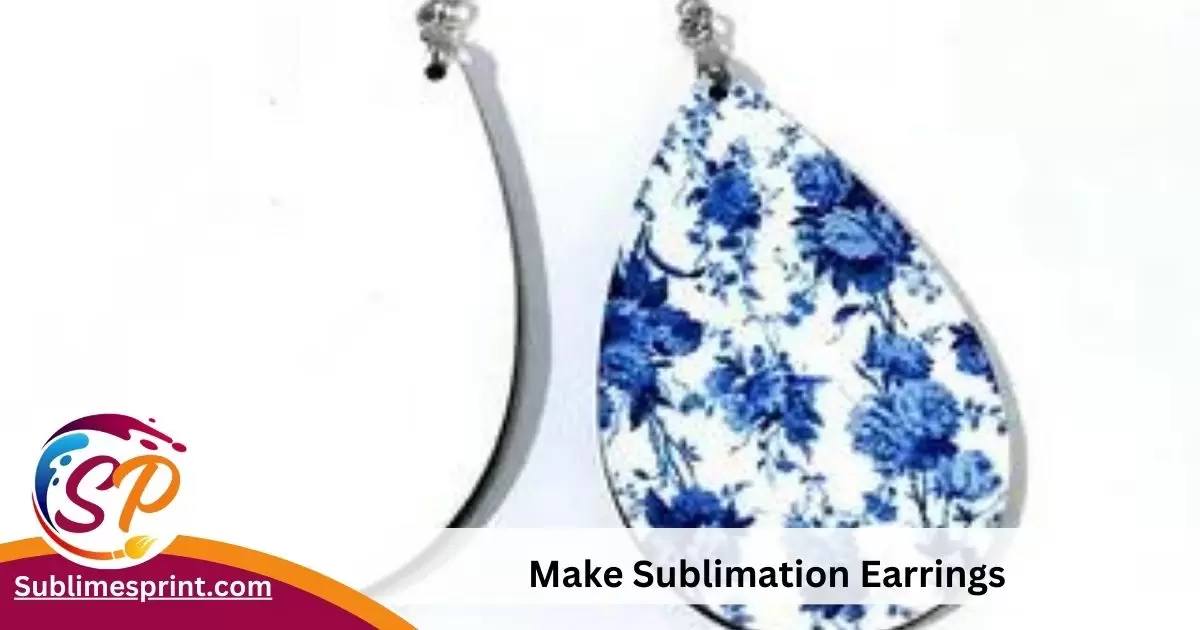
Get ready to have a blast because today we’re jumping into the world of making your very own sublimation earrings. It’s like magic for your accessories—colorful, unique, and totally you!
Think about it: regular earrings are cool, but what if you could make ones that are super special and show off your style? That’s exactly what we’re going to do with DIY sublimation earrings—it’s like making your own tiny pieces of art that you can wear!
To make sublimation earrings, follow these steps:
Materials needed:
- Sublimation paper.
- Sublimation earring blanks (e.g., HTVRONT Sublimation Earring Blanks Bulk).
- Sublimation ink.
- Inkjet printer.
- Heat press.
- Heat-resistant tape.
- Teflon sheet or parchment paper.
- Scissors.
Why personalized accessories are awesome? You know how everyone has similar stuff sometimes? Well, these personalized accessories are like your secret weapon to stand out! Your earrings won’t just be pretty; they’ll be like a little story about you. Whether you’re a trendsetter, a tech fan, or just someone who likes things a bit different, sublimation earrings are going to be your new favorite thing.
What We’re Going to Do in This Guide: Before we start making our awesome earrings, let’s see what we’ll be doing together:
- Getting Started with Sublimation Earrings: We’ll learn the basics of sublimation—don’t worry, it’s easy and super fun!
- Materials Needed: We’ll figure out what cool stuff we need for our earrings and where to get them.
- Setting Up Your Workspace: Making sure we have a neat space to create our magic and staying safe while we do it.
- Designing Creative Earring Patterns: Letting out our inner artists! We’ll talk about making designs that are trendy and totally us.
- Sublimation Printing Process: A step-by-step guide to turning our designs into real-life earrings. It’s like printing, but cooler!
- Assembling Your Sublimation Earrings: Putting everything together to make our earrings look awesome when we wear them.
Getting Started with Sublimation Earrings
What is sublimation?
Ever heard of sublimation? It’s like a super cool magic trick for making our earrings look amazing! Sublimation is when something turns from a solid directly into a gas without becoming a liquid first. Sounds a bit science-y, right? Don’t worry; we’ll make it simple.
Picture this: we take a special design, print it, and then use heat to make that design go straight from the paper to our earrings. It’s like our earrings are getting a colorful tattoo! And guess what? We’re going to learn how to do this, and it’s going to be awesome!
Printing Magic for Jewelry:
Now, let’s talk about sublimation printing. It’s not like regular printing, where ink sits on top of the paper. Nope, it’s way cooler! With sublimation printing, the ink turns into a gas and becomes part of the earring. It’s like our designs become one with the jewelry, making them super vibrant and long-lasting.
Imagine having all those funky and cool designs on your earrings—from rainbows to your favorite emojis—all because of this awesome sublimation printing trick!
Why Sublimation for Your Accessories?
Okay, let’s get to the good stuff: why should we use sublimation for our earrings? Well, here are the advantages:
- Vibrant Colors: Sublimation gives us colors that really pop! Say goodbye to dull and hello to super bright.
- Detailed Designs: Tiny details? No problem! Sublimation can capture even the tiniest patterns, making our earrings look super fancy.
- Long-Lasting: Our designs won’t fade away. They’re here to stay, making our accessories look new and cool for a long time.
- Endless Possibilities: We can print almost anything—pictures, patterns, or even our favorite quotes. It’s like a playground for our creativity!
Choosing the Right Earrings for Sublimation:

Before we jump into the fun stuff, we need to pick the perfect canvas for our art—the earrings! Not all earrings are created equal when it comes to sublimation. We want surfaces that can handle the heat and bring out the best in our designs. Consider materials like polymer-coated or specially coated metals for your sublimation projects.
Heat Press Magic:
Now, here comes the secret sauce—the heat press. This nifty device is like a superhero for our sublimation earrings. It’s what makes the magic happen! After we’ve printed our designs, the heat press is used to transfer those designs from the paper onto the earrings. It’s quick, efficient, and ensures our colors stay vibrant and locked into the jewelry.
Protecting Your Artwork:
Our designs are precious, and we want them to last. To make sure our artwork stands the test of time, we can use a protective coating. This clear layer acts like a shield, keeping our earrings safe from scratches and adding a glossy finish. Think of it as giving our creations a little extra love and care.
Prepping for Sublimation Printing:
Time to Roll Up Our Sleeves! Before we start the printing process, let’s make sure everything is set up. Prepare your design, make sure your heat press is ready to go, and ensure your earrings are clean and free from dust or grease. The smoother the process, the more amazing our sublimation earrings will turn out!
Tips for Successful Sublimation:
Here are a few handy tips to make sure our sublimation adventure goes smoothly:
- High-Quality Designs: Use high-resolution images for sharp and clear prints.
- Experiment with Colors: Sublimation loves bold colors, so don’t be afraid to go vibrant!
- Follow Temperature Guidelines: Different materials may require different heat settings, so check your equipment’s guidelines.
- Practice patience: Let the heat press do its job and avoid rushing the process for the best results.
Materials Needed
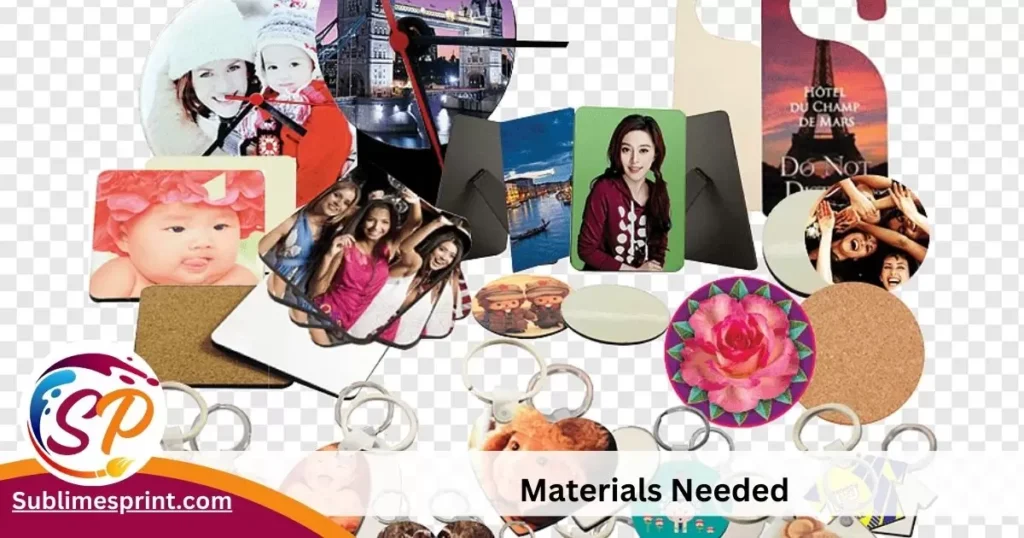
Alright, creative souls, the stage is set, and it’s time to gather the tools of our craft. To create stunning sublimation earrings, we need to make sure we have the right materials at our fingertips. Let’s dive into the world of supplies and get ready to turn our visions into reality!
Earrings Base:
First things first, let’s pick the perfect canvas for our designs. When choosing earrings for sublimation, opt for materials that can handle the heat of the process. Consider polymer-coated metals or specially coated metals, as they work like a charm. These surfaces ensure that our designs not only look fantastic but also stay intact through the sublimation process.
Sublimation Paper:
Now onto the magical paper that brings our designs to life—sublimation paper. This special paper is designed to hold the sublimation ink and release it when heat is applied. Make sure to get high-quality sublimation paper for vibrant and detailed prints.
Sublimation Ink:
The heart of the process lies in the ink, and for sublimation, we need special sublimation ink. These inks turn into a gas under heat, blending seamlessly with our earrings. Choose a set of colors that match your creative vision, and make sure they are compatible with your printer.
Heat Press Machine:
Here comes our superhero—the heat press machine. This essential tool transfers our designs from the sublimation paper to the earrings. Look for a reliable heat press that provides even heat distribution for consistent and vibrant results.
Protective Coating:
To ensure our creations stand the test of time, a clear protective coating is key. This layer not only adds a glossy finish but also protects our earrings from scratches. It’s like giving our artwork a shield, making it durable and ready to shine.
Design Software and Printer:
For the graphic designers among us, having access to design software and a printer is crucial. Whether you’re using a professional graphic design tool or a user-friendly option, make sure your designs are in high resolution for the best print quality.
Cleaning Supplies:
Before we start the sublimation process, it’s essential to have cleaning supplies on hand. Ensure your earrings are free from dust, grease, or any unwanted particles. A clean surface ensures a smooth transfer of your designs.
Read also: Can You Use Dtf Paper With Sublimation Ink
Setting Up Your Workspace
Alright, fellow creators, now that we’ve got our materials ready to roll, it’s time to create a space where the magic happens. Having a dedicated and organized workspace ensures a smooth and enjoyable sublimation earring crafting experience. Let’s set the stage for our creative journey!
The Importance of a Dedicated Workspace:
Creating a designated space for our sublimation adventure is like having a little haven for creativity. Find a spot where you can spread out your materials, work comfortably, and let those creative vibes flow. Having a dedicated workspace also helps keep things organized, making the crafting process much more enjoyable.
Safety Precautions:
Now, let’s talk safety. As much as we’re all about the fun, it’s crucial to take a few safety precautions. The heat press can get, well, pretty hot, so make sure your workspace is well-ventilated. Keep any flammable materials away, and always follow the safety guidelines provided with your equipment.
Ventilation is Key:
Ventilation isn’t just about safety; it’s about creating a comfortable space for our crafting adventure. Adequate ventilation ensures that any fumes from the sublimation process are well-dissipated. So, throw open a window, turn on a fan, and let the fresh air in as you bring your earrings to life.
Organizing Your Materials:
Nothing kills creativity like a cluttered space. Take a few minutes to organize your materials before diving in. Having everything within reach not only saves time but also keeps the creative energy flowing. Imagine a clean and tidy workspace as the canvas for your crafting masterpiece.
Natural Light or Good Lighting:
Let there be light! Natural light, or good lighting, is your best friend during the crafting process. It not only makes your workspace inviting but also helps you see those tiny details in your designs. If natural light isn’t an option, consider adding some bright and clear artificial lighting to illuminate your creative zone.
Comfort is Key:
Last but certainly not least, think about your own comfort. Grab a comfy chair, make sure your work surface is at a comfortable height, and maybe play some inspiring tunes in the background. The more comfortable and relaxed you are, the more enjoyable the crafting experience becomes.
Designing Creative Earring Patterns
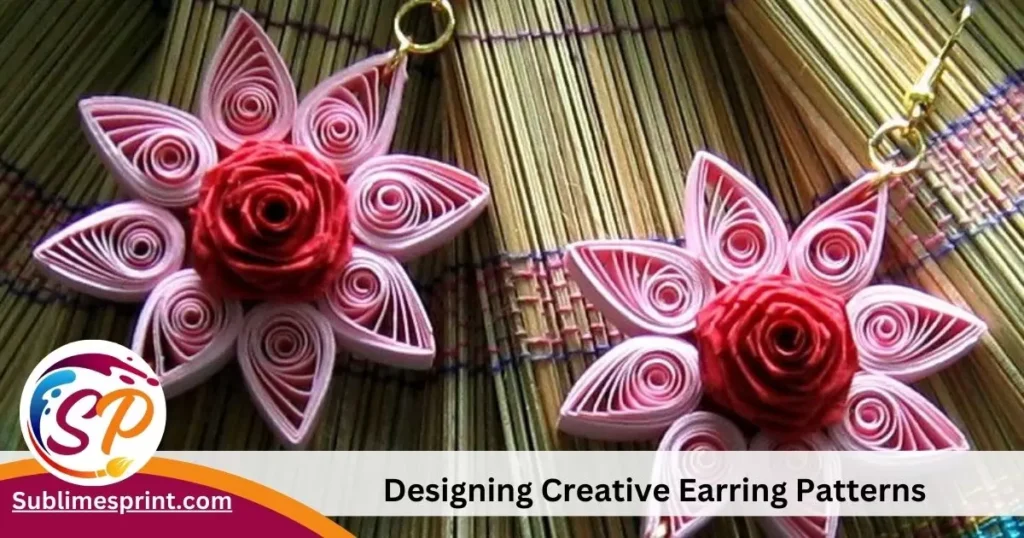
Hey there, creative minds! Now that we’ve got our workspace set up, let’s dive into the fun part—designing awesome patterns for our sublimation earrings. It’s like creating your own fashion magic! Here’s how you can make it pop:
Be Your Own Artist:
No need to be a pro! Use graphic design software to play with colors and shapes. Express yourself with quotes, funky patterns, or symbols that mean something special to you. This is your chance to be the artist behind your earrings!
Mix Trends with Your Style:
Keep an eye on what’s cool, but don’t forget your own style. Mix trendy stuff with things that never go out of style. Whether you like shapes, flowers, or abstract art, let your style shine. You’re the trendsetter here!
Make It Yours with Customization:
The coolest part? You can make your earrings totally yours. Want your initials on them? Sure thing! Love certain colors? Go for it! This is your chance to make your earrings as unique as you are.
Go for Bold Colors:
Sublimation loves bold! Don’t be shy with colors. Whether it’s a rainbow explosion or a single bold color, make it eye-catching. This is your chance to be bold and make your earrings scream, “YOU!”
Match designs with earring shapes:
Think about the shape of your earrings. Some designs work better with studs, hoops, or dangly ones. Play around on your computer to see how your patterns look. It’s like finding the perfect puzzle piece!
Test it out:
Before you go all in, print a test on regular paper. It’s like a sneak peek! See how your colors and patterns look in real life. Make any tweaks, and you’re ready to bring your designs to life.
Sublimation Printing Process
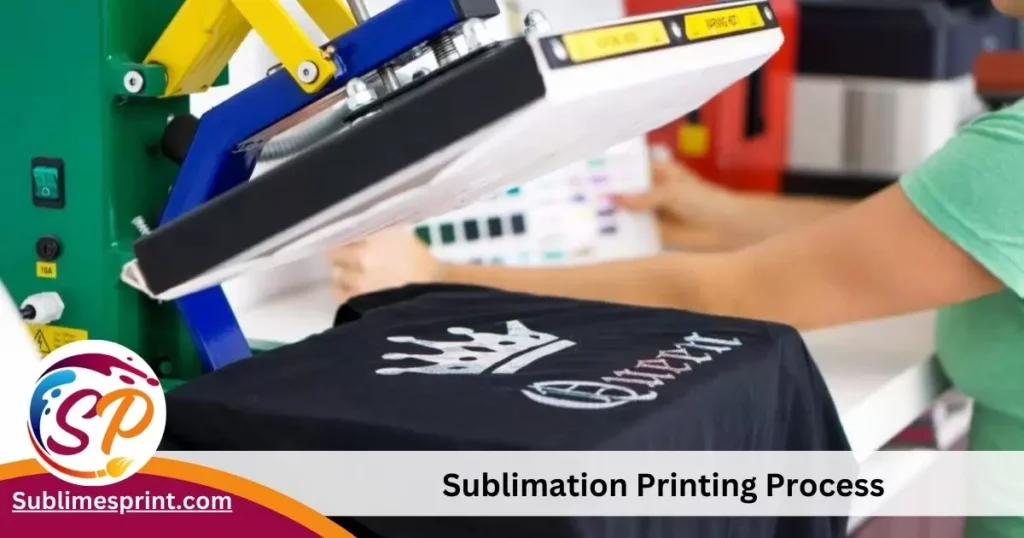
Hello, fellow creators! Now that our designs are bursting with personality, it’s time to turn them into reality through the enchanting process of sublimation printing. Get ready to witness the magic as your vibrant patterns come to life on your earrings.
Preparing Your Design for Printing:
First things first, let’s get that awesome design ready for print! Make sure your design is saved in a format compatible with your printer. High-fives to technology for making it easy to transfer our creativity onto paper.
Load Your Sublimation Paper:
Load up that special sublimation paper into your printer. It’s like the canvas for your masterpiece. Make sure it’s aligned properly to avoid any printing mishaps. You want those colors to come out just right!
Adjusting Print Settings:
Time to play with some settings! Check your printer settings and make sure they match the recommendations for sublimation printing. It’s like setting the stage for a perfect performance—everything needs to be just right.
Printing Your Designs:
Hit that print button and watch the magic unfold! As your printer works its charm, admire those vibrant colors coming to life on the sublimation paper. It’s like a sneak peek at the awesomeness about to happen.
Getting Your Earrings Ready:
While your designs are printing, let’s get those earrings prepped and ready. Ensure they’re clean and free from any dust or grease. A clean slate for your artwork ensures a flawless transfer.
Using the Heat Press:
Here comes the superhero of our sublimation journey—the heat press! Preheat it to the right temperature, and get ready for the final act. Place your sublimation paper with the design on the earring, close the heat press, and let the magic happen.
Time and Temperature Control:
Different materials might need different temperatures and times. Follow the guidelines for your specific materials. This ensures your designs not only look amazing but also stay put for the long run.
Watching the Transformation:
As the heat press works its magic, watch your design transform from the paper to your earrings. It’s like witnessing a masterpiece come to life. The colors become one with the material, creating a seamless and vibrant finish.
Patience is a virtue:
Give it a moment. Patience is key! Let your earrings cool down a bit before handling them. You’ve just created something incredible, and now it’s time to admire your handiwork.
Assembling Your Sublimation Earrings
Hey, crafting champions! Now that our sublimation earrings have their vibrant designs, it’s time to assemble them into the stunning accessories we’ve been dreaming of. Grab your creations, and let’s add those finishing touches to make them shine!
Choosing the Perfect Earring Bases:
First things first, let’s pick the right stage for our designs—the earring bases. Depending on your style and design, choose the perfect match. Are you feeling studs, hoops, or dangly earrings today? The stage is yours!
Attaching Your Sublimated Designs:
It’s showtime! Carefully place your sublimation paper with the design onto the chosen earring base. Make sure it’s centered and aligned just the way you want it. This is where your vibrant patterns come to life on the earrings, creating a masterpiece!
Adding Finishing Touches:
Now, let’s sprinkle some magic dust with those finishing touches. Consider adding extra elements like beads, charms, or any embellishments that complement your design. It’s these little details that elevate your earrings from fantastic to utterly fabulous!
Securing the Design:
To make sure your designs stay put, consider using a clear adhesive or resin to secure them onto the earrings. This not only ensures a strong bond but also adds a glossy finish, making your creations even more eye-catching.
Creating a Cohesive Set:
If you’re making a pair of earrings, make sure they form a cohesive set. Check that both earrings match perfectly, creating a harmonious look when worn together. Consistency is the key to a polished and professional finish.
Quality Check:
Before proudly showcasing your creations, do a quick quality check. Ensure all elements are securely attached and the designs look flawless. It’s the final check to make sure your sublimation earrings are ready to steal the spotlight.
Packaging with Care:
Once your earrings pass the quality check, consider packaging them with care. Whether it’s a cute box, a personalized pouch, or a handmade card, packaging adds that extra touch of thoughtfulness when presenting your creations.
Quick and Fun DIY Projects
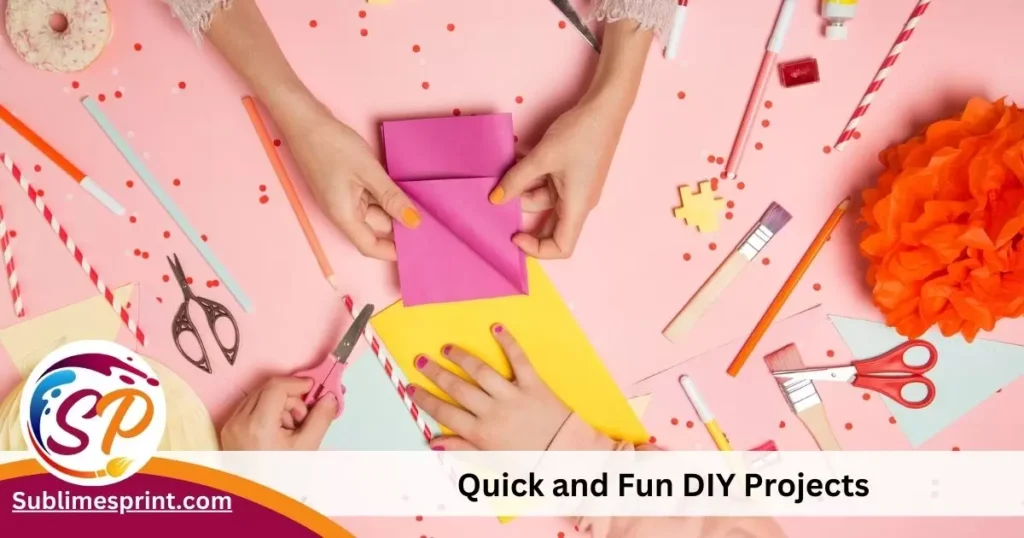
Hey there, crafty pals! Ready for some quick and exciting projects that won’t take forever but will still make your style pop? Let’s dive into some super easy and fun DIY sublimation earring ideas.
Mini Masterpieces:
Ever thought about creating a series of mini masterpieces? Grab small earring bases like studs or tiny hoops and turn them into a canvas for your creativity. Think of each earring as a tiny work of art—easy to make, and they look oh-so-cute when worn together!
Mix and Match Magic:
Here’s a fun one—mix and match your designs! Print a variety of patterns and swap them between different earrings. It’s like having a whole collection in just a few minutes. Play with colors and shapes, and let your earrings tell a story of their own.
Emoji Extravaganza:
Who doesn’t love emojis? Turn your sublimation earrings into an emoji extravaganza! Print your favorite emojis, from cheeky grins to heart eyes, and showcase your emotions through your accessories. It’s a quick way to add a touch of playfulness to your style.
Nature-Inspired Beauties:
Bring a bit of nature into your creations! Think flowers, leaves, or even little bees. These nature-inspired designs add a touch of freshness to your earrings. Simple, elegant, and a breeze to make!
Personalized Initials:
Want something with a personal touch? How about creating earrings with your initials? Print your initials in your favorite font and style, then attach them to the earring bases. It’s a quick way to add a touch of “you” to your accessories.
Time-Saving Abstracts:
Short on time but still want stunning earrings? Try your hand at abstract designs. Bold strokes, splashes of color—abstracts are all about freedom and expression. They’re quick to create and always look unique.
Technology in Crafting: A Graphic Designer’s Perspective

Hello, tech-savvy creators! If you’re a graphic designer, you’re in for a treat. Let’s explore how technology can be your best friend in the world of DIY sublimation earrings. Embrace the digital magic!
Graphic Design Software Magic:
As a graphic designer, you’re probably no stranger to design software. Well, good news! You can use your favorite graphic design tools to create stunning sublimation earring designs. Think Adobe Illustrator, Canva, or any software that lets you unleash your artistic genius.
Vector Graphics for Precision:
Love precision? Vector graphics are your best pals. They maintain quality no matter the size, ensuring your designs look sharp and vibrant on those tiny earrings. Go ahead, play with vectors, and create detailed and intricate patterns.
Digital Color Palettes:
Say goodbye to limitations with physical color palettes. In the digital realm, you have an infinite range of colors to choose from. Experiment with different shades, gradients, and color combinations to make your sublimation earrings truly stand out.
Experimenting with Layers:
One of the perks of digital design is the power of layers. Play around with layering different elements to create depth and complexity in your designs. It adds an extra touch of sophistication to your sublimation creations.
Quick Iterations and Adjustments:
Need to make a quick change? No problem! Digital designs allow for rapid iterations and adjustments. Whether it’s tweaking colors or fine-tuning shapes, the digital realm lets you perfect your designs with ease.
Digital Mockups for Preview:
Before committing to the final print, use digital mockups to preview how your designs will look on the earrings. It’s like a sneak peek into the future! Adjust it as needed until you’re completely satisfied with the digital representation.
Online Resources and Communities:
Being a part of the digital world also means access to a treasure trove of online resources and communities. Join forums, follow tutorials, and connect with other creative minds. The digital space is filled with inspiration and knowledge-sharing opportunities.
The Joy of Making Earrings Your Own
Hello, awesome creators! Now that we’ve explored the tech side of crafting, let’s talk about making your sublimation earrings truly yours—adding a bit of “you” to each creation.
Your Story in Every Design:
Every design you make is like telling a little story. It could be about a moment, a feeling, or just showing off your personality. Use your earrings as a way to share your story with the world. Let them be your canvas to say, “This is me!”
Special Moments and Celebrations:
Make your earrings a part of special times like birthdays or anniversaries. Create designs that shout “celebration” and gift them to someone you care about. Your earrings can become a little reminder of beautiful moments.
What Makes You Tick:
What do you love? Whether it’s music, space, or just a favorite color, let your earrings show off what makes you tick. Personalizing is all about turning your passions into wearable art.
Matching Your Outfits:
Coordinate your earrings with your clothes. Make designs that match different outfits, so you always have the perfect pair for any occasion. It’s like having a custom accessory for every mood and style.
Gifts Straight from the heart:
Spread joy by giving personalized earrings to friends and family. Make designs based on what they like—their favorite colors or hobbies. It’s a sweet and caring way to show you’re thinking about them.
Elegant Initials or Monograms:
Add a touch of fancy with your name’s initials or monograms. Personalize your earrings by putting your initials or someone else’s on them. It’s a classic way to leave your mark.
Celebrate Seasons and Holidays:
Make your earrings fit the mood of the season or a holiday. From festive patterns for celebrations to flowery designs for spring, let your creativity flow with the times. Make your accessories match the spirit of the moment.
Love for Everyone:
Personalizing is for everyone! Create designs that celebrate everyone. Include different cultures, symbols, and messages that spread good vibes and togetherness. Let your earrings be a sign that everyone is welcome.
FAQs:
What equipment is required for sublimation?
To start sublimating, you’ll need a few things. First, a sublimation printer is key. This special printer uses sublimation inks. Then, you’ll need sublimation paper – it’s like the canvas for your designs. Don’t forget a heat press. This machine helps transfer your designs from paper to materials like metal or ceramic. And lastly, you’ll need items to print on, like sublimation blanks – these can be mugs, shirts, or, in our case, earrings!
What do you need to make custom earrings?
For custom earrings, you’ll want to add a few extra items to your list. Grab some earring blanks, which are the base of your earrings. If you want your designs to really pop, consider using graphic design software like Canva or Adobe Illustrator. And of course, your creative ideas are a must!
What do I need to buy to make earrings?
To make earrings, start with the basics: earring blanks – these can be studs, hoops, or dangly ones. For the designs, a good sublimation printer and sublimation paper are must-haves. And don’t forget your trusty heat press – it’s like the magic wand that brings your designs to life on the earrings.
What coating is needed for sublimation?
When it comes to sublimation, you don’t need a separate coating. The magic happens when the sublimation ink is heated – it turns into a gas and gets absorbed by materials like polyester or special coatings on items. So, no extra coating needed – just the right materials!
Do you epoxy oversublimation?
Epoxy isn’t a must, but some folks like to use it for extra shine and protection. After sublimating, applying a clear epoxy resin can give your earrings a glossy finish. It’s like adding a protective layer and making your designs really stand out.
Conclusion
Recap of Key Points Covered in the Tutorial:
Let’s do a quick recap! In this guide, we’ve talked about making cool sublimation earrings. We learned the basics, picked the right tools, and got creative with designing patterns. We even explored how technology, especially for graphic designers, can add a magical touch. And of course, we celebrated the joy of making earrings that truly represent you.
Encouragement for Readers to Experiment with Sublimation Earrings:
Now, it’s your turn to have some fun! Don’t be afraid to try different designs, colors, and ways of making your earrings. Sublimation earrings are like a blank canvas waiting for your creativity. Whether you’re a pro or just starting, the best part is enjoying the process of making something that’s uniquely yours. So, let your imagination run free and turn those earrings into your own little masterpieces.
Invitation for Feedback, Questions, and Sharing Reader Creations:
I’m eager to hear from you! If you have questions, thoughts, or if you’ve given making sublimation earrings a shot, share your creations. Your experiences and questions are important, and they make our crafting community even more awesome. Don’t hesitate to reach out, whether it’s to share your stories or to get help with your crafting adventures.

I’m Dariel Campbell, the guy who loves making things look awesome at “Sublimes Print.” Playing with colors and designs is my thing. At Sublimes Print, we’re here to make your prints stand out and shine. Let’s make your ideas come alive on paper—come and join the fun at Sublimes Print!