Hey, creative buddies! A big hello to everyone who loves making cool stuff. If you enjoy turning regular things into awesome creations, you’re in for a treat today. We’re teaming up to add loads of color and brightness to your sublimation projects.
Imagine this: your creations are like fireworks, bursting with colors that catch everyone’s eye. Our goal is simple but super fun—we’re here to make your sublimation projects shine like never before.
It doesn’t matter if you’re a pro or just starting out; this guide is your key to turning your projects into jaw-dropping pieces of art.
How to make sublimation brighter?
- Use high-quality sublimation paper.
- Use compatible ink and printer.
- Optimize your printer settings.
- Clean your printer regularly.
Understanding Sublimation Brightness
The Science Behind Vibrant Colors in Sublimation:
Let’s kick things off with a bit of magic—sublimation magic, that is! Ever wondered why some sublimation projects shine brighter than others? It’s all about the science behind those vibrant colors.
When we talk about sublimation, we’re talking about turning solid ink into a gas without the messy liquid phase. This gas phase is where the real color party happens. The ink molecules dive deep into materials, creating a bond that’s not just surface-level but goes right to the heart, making colors pop!
Exploring the Impact of Color Settings and Inks:
Now, let’s talk about setting the stage for your color masterpiece. Imagine your sublimation printer as a conductor, and the color settings and inks as the musicians in your orchestra. Getting them to play in harmony is the key!
Adjusting your color settings correctly can make the difference between a dull performance and a vibrant symphony of colors. It’s like choosing the right instruments for a song—each color plays a crucial role in creating the perfect tune. We’ll dig into the secrets of these settings and inks to make your colors sing.
Choosing the Right Sublimation Materials for Brightness:
Alright, maestro, now that we’ve covered the science and set the colors in motion, let’s talk materials. Choosing the right ones can either make your colors dance or leave them stumbling. From the type of fabric to the quality of paper, every choice matters. Think of your materials as the dance floor—the better it is, the smoother your colors will move.
We’ll guide you through the selection process to ensure your sublimation materials are like the perfect dance partner for your colors. Get ready to pick the stage for your next color extravaganza!
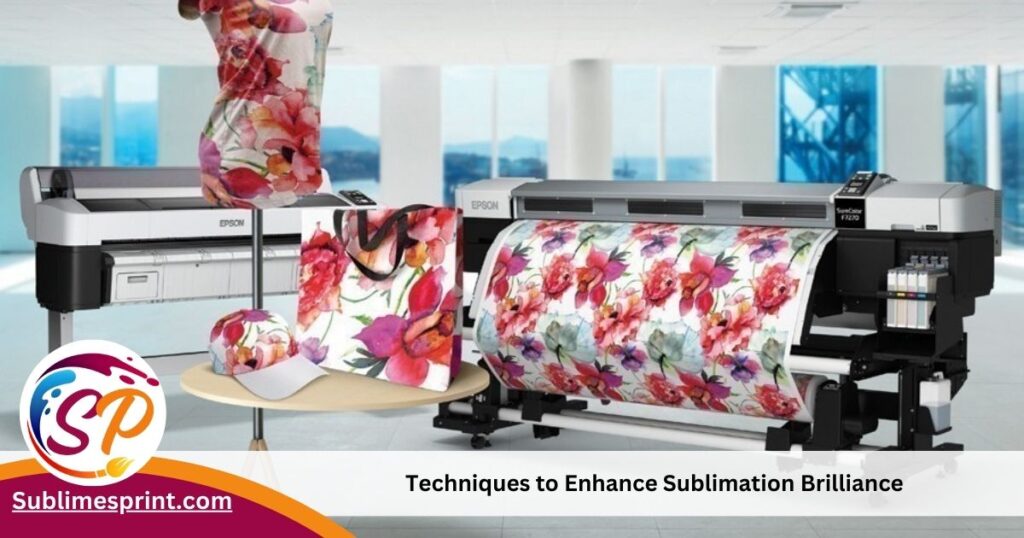
Techniques to Enhance Sublimation Brilliance
Optimizing Heat Press Settings for Colorful Results:
Alright, let’s turn up the heat—literally! Your heat press is like the spotlight on your sublimation stage, and knowing how to use it can make your colors sizzle.
We’ll walk you through the optimal heat press settings that ensure your creations get the warmth they need for a burst of color. It’s the secret sauce to make your sublimation projects go from lukewarm to scorching hot!
Selecting the Ideal Sublimation Paper for Vibrancy:
Paper matters more than you might think. It’s not just a canvas; it’s the canvas that defines the texture and depth of your colors. We’ll help you navigate the sea of choices to find the ideal sublimation paper.
Picture it as choosing the right paper for a watercolor painting—each texture adds a layer of vibrancy. Get ready to pick the paper that makes your colors pop!
Tips for Choosing and Using Colorfast Sublimation Dyes:
Colors that stand the test of time? That’s what we’re aiming for with colorfast sublimation dyes. We’ll spill the beans on how to choose dyes that won’t fade away, ensuring your creations stay as vivid as the day you made them.
Think of it as picking the right paint that won’t lose its brilliance over time. Ready to make your colors not only vibrant but long-lasting too?
Troubleshooting: Addressing Common Issues for Brightness
No performance is flawless, and neither are sublimation projects. Sometimes, things don’t go as planned. But don’t worry, we’ve got your back! We’ll troubleshoot common issues like color fading or dullness, turning those stumbling blocks into stepping stones to sublimation success. It’s like having a backstage pass to fix any hiccups and ensure your colors shine on the big stage!
Practical Steps for Brighter Sublimation Projects
Step-by-Step Guide to Improving Color Vibrancy:
Now that we’ve covered the essentials, let’s get down to the nitty-gritty with a hands-on, step-by-step guide. Think of it as your roadmap to sublimation success. We’ll take you through each stage, from prepping your materials to fine-tuning those color settings.
Follow along, and you’ll soon find yourself creating projects that practically glow with vibrancy.
Creative Ideas to Maximize Sublimation Brilliance:
Creativity knows no bounds, and neither should your sublimation projects. We’ll sprinkle in some fresh and creative ideas to not only make your colors vibrant but to take your creations to a whole new level.
Whether it’s experimenting with different patterns, layering colors, or adding unique touches, these ideas will infuse your projects with a dash of brilliance.
Showcasing Before-and-After Brightness Comparisons:
Seeing is believing, right? We’ll showcase some jaw-dropping before-and-after comparisons. It’s not just about telling you how to make your projects brighter; we’ll show you the results. Prepare to be amazed as we highlight the transformation that the right techniques and materials can bring to your sublimation creations. It’s like witnessing a magical color metamorphosis!
Read also: Can You Use an Iron for Sublimation?
Building a Bright Sublimation Community
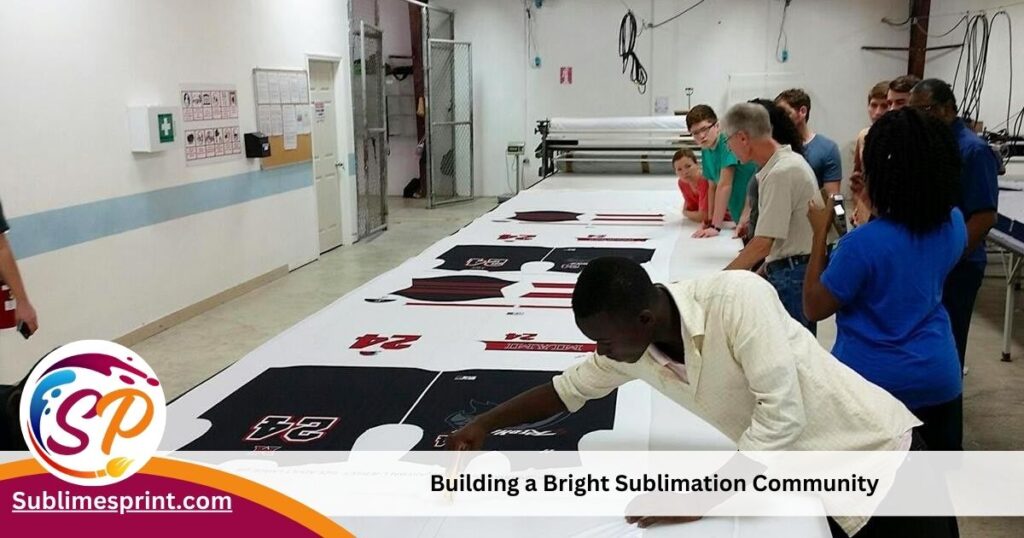
Leveraging Social Media for Sharing Vibrant Creations:
In a world buzzing with creative energy, social media becomes your canvas to showcase the vibrant strokes of your sublimation artistry. Here’s how you can effectively use platforms like Instagram, Pinterest, and more to share the brilliance of your creations:
- Captivating Visuals: Your sublimation projects speak volumes. Capture them in the best light, experiment with angles, and let your visuals tell a vivid story.
- Crafting Engaging Captions: A picture may be worth a thousand words, but a thoughtful caption adds depth. Share the inspiration behind your creation, the techniques you used, or invite others to share their thoughts.
- Connecting with Hashtags: Dive into the world of relevant hashtags to make your creations discoverable. Join popular sublimation or DIY communities by using hashtags that resonate with your work.
- Interactive Stories and Reels: Instagram Stories and Reels are fantastic tools to give your audience a behind-the-scenes look at your creative process. Add polls, questions, and interactive elements to engage with your viewers.
- Community Challenges: Initiate or participate in community challenges. Whether it’s a color theme, a specific technique, or a monthly project, challenges foster a sense of camaraderie and inspiration.
Engaging with the Sublimation Community: Tips and Benefits
Being part of a vibrant community amplifies the joy of creative expression. Here are some tips on engaging with the sublimation community:
- Joining Online Forums: Platforms like Reddit or dedicated sublimation forums provide spaces for in-depth discussions, problem-solving, and sharing experiences. Dive into these communities to connect with like-minded enthusiasts.
- Participating in Webinars and Workshops: Attend webinars or online workshops hosted by seasoned sublimation artists. Not only do you learn valuable tips and techniques, but you also get the chance to interact with experts and fellow learners.
- Sharing Knowledge: If you’ve discovered a game-changing technique or troubleshooted a common issue, share your knowledge. Communities thrive when members contribute their expertise, creating a supportive environment for everyone.
- Celebrating Successes: Don’t be shy about celebrating your wins, big or small. Whether you’ve mastered a new technique or completed a challenging project, sharing your successes inspires others and builds a positive atmosphere.
Encouraging Collaboration and Learning from Fellow Enthusiasts
Collaboration is the heartbeat of a thriving sublimation community. Here’s how you can encourage collaboration and learn from your fellow enthusiasts:
- Joining Collaborative Projects: Participate in collaborative projects where multiple creators contribute to a single piece. It’s an excellent way to blend different styles and ideas, creating unique and diverse artworks.
- Workshop Partnerships: Collaborate with fellow enthusiasts on workshops or tutorial sessions. You can share your expertise on specific aspects of sublimation, creating a dynamic learning environment for all participants.
- Exchanging Ideas and Feedback: Engage in open discussions where ideas flow freely. Offer constructive feedback and be open to receiving suggestions. The exchange of ideas leads to collective growth within the community.
- Creating Joint Exhibitions: Organize joint exhibitions or showcases featuring the work of multiple community members. It’s a fantastic way to shine a spotlight on the diversity of talent within the sublimation community.
FAQs:
What settings should my Epson printer be on for sublimation?
Just choose “High-Quality Inkjet Paper” or “Plain Paper” and set quality to the highest. Easy!
How long does sublimation last on shirts?
Sublimation on shirts lasts a really long time, even after many washes. Just follow the care instructions for the shirt to keep it looking great.
Does bleach ruin sublimation?
Yep, bleach can mess up sublimation prints. Avoid using it if you want your prints to stay vibrant and awesome.
Why are my sublimation prints not vibrant?
If your prints aren’t super colorful, check your printer and heat press settings. Also, make sure you’re using good-quality materials.
How do I make my CMYK print brighter?
To make your CMYK prints brighter, get good ink, use bright paper, and play with the color settings in your software until it looks just right.
How do I stop sublimation from shadowing?
If you’re getting shadows, make sure your heat press is pressing evenly. Also, using a good-quality heat press helps a lot.
How do I print bright colors?
Printing bright colors is easy! Adjust the color settings in your design software, and pick colorful and high-contrast designs. Simple as that!
Final thoughts
Recap of Key Techniques for Brighter Sublimation:
Let’s quickly revisit the important tips to make your sublimation projects shine:
- Understand the Science: Know how colors come alive through sublimation by turning solid ink into a vibrant gas.
- Tune Your Color Settings: Like a conductor, set your color settings right for a symphony of brilliant hues.
- Choose Materials Wisely: Your materials are the dance floor – pick ones that let your colors move and groove.
Encouragement to Explore and Experiment for Brilliance:
Now, here’s the exciting part – don’t be afraid to get creative!
- Experiment Fearlessly: Try new techniques, mix colors, and see what happens. The more you experiment, the more brilliance you’ll discover.
- Think Outside the Box: Creativity has no boundaries. Let your imagination soar and explore ideas that make your projects uniquely yours.
Inviting Samantha and Readers to Share Their Shiny Creations:
- Share Your Masterpieces: We want to see your vibrant creations. Share them on social media, and let the world marvel at your brilliance.
- Join the Sublimation Party: Connect with other creators, learn, and celebrate in our vibrant sublimation community.

I’m Dariel Campbell, the guy who loves making things look awesome at “Sublimes Print.” Playing with colors and designs is my thing. At Sublimes Print, we’re here to make your prints stand out and shine. Let’s make your ideas come alive on paper—come and join the fun at Sublimes Print!
