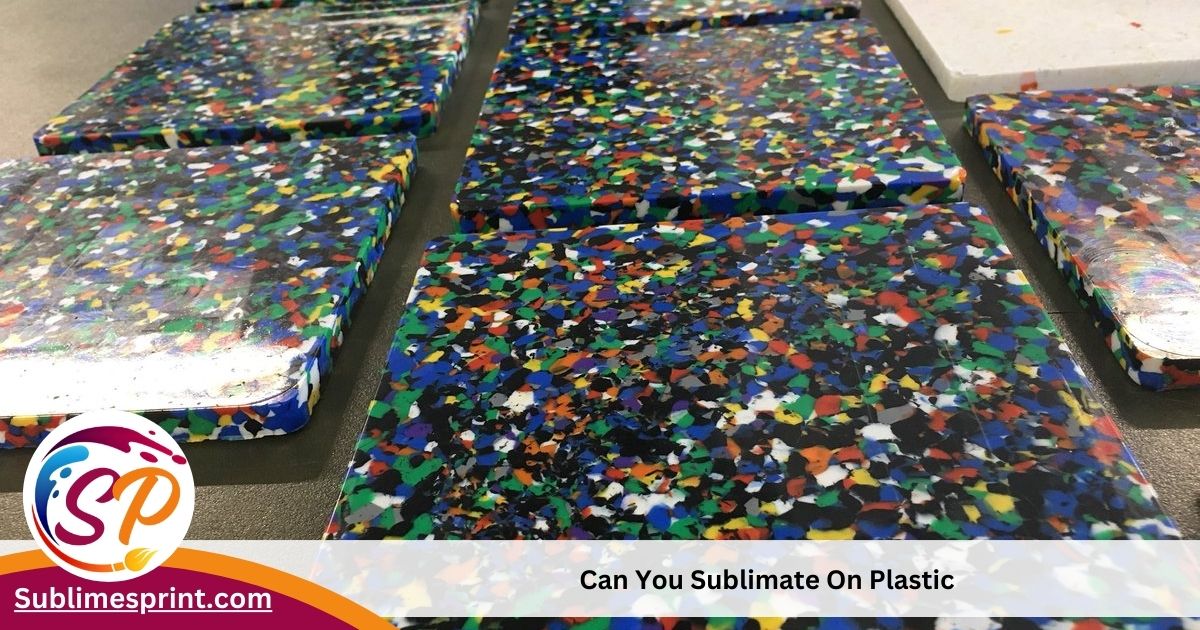
You can only use sublimate on plastic made specifically for sublimation. Sublimation needs high heat and pressure to transfer the design onto the material. Therefore, you need plastic that can handle this heat and pressure.
Ready to dive into a world where your art can be cool for you and the planet? Awesome! I’m here to guide you on an adventure into sublimate on plastic—a way to make your creations pop while being kind to Mother Earth.
So, why are we here? Ever thought about making your art not just look good but also do good for the environment? Well, that’s what we’re about to explore! This guide is here to help you understand and try out eco-friendly sublimation on plastic. We’re going to take it step by step, from the basics to creating cool and green designs.
Understanding Sublimation
Alright, buckle up, creative minds! We’re about to unravel the secrets of sublimation printing—the wizardry that’ll turn your designs into vibrant masterpieces on good ol’ plastic.
Definition of Sublimation Printing:
Let’s break it down in simple terms. Sublimation is like magic for your designs. Imagine your artwork going from solid to gas without becoming liquid—that’s sublimation. In our crafty world, it’s a printing technique where special inks turn into a gas and get soaked up by materials, especially our trusty sidekick, plastic.
Basics of Sublimation Process:
Here’s the real scoop: You’ve got a fantastic design on paper. With sublimation, you print that masterpiece using special inks. Now, the game-changer: when you heat things up (literally), those inks transform into a gas. This magical gas dives deep into the plastic, creating a bond that’s stronger than that of a superhero duo. Your design becomes one with the plastic, and voila—you’ve got a fantastic, lasting piece of art.
Importance of Sustainability in Crafting

Hey eco-warriors! Now that we’ve dipped our toes into the sublimation wonderland, let’s talk about why it’s crucial to make our crafting journeys as green as possible.
Emphasizing the Need for Eco-friendly Crafting Practices:
Imagine this: You’re not just an artist; you’re a guardian of the planet too. As creators, it’s vital to be mindful of the impact our crafts have on Mother Earth. Enter the superhero cape: eco-friendly crafting practices. These practices ensure that our artistic adventures leave a positive mark, not a carbon footprint.
Now, I know what you’re thinking: “How can my crafts save the world?” Well, friend, when you choose to be eco-conscious, you’re contributing to a cleaner, greener tomorrow. It’s like giving our planet a high-five for being awesome.
Benefits of Using Recycled Materials for Sublimation:
Let’s talk materials, shall we? Instead of reaching for brand-new stuff every time, why not consider recycled materials? It’s not just about being thrifty; it’s about making a choice that’s kinder to the environment. When it comes to sublimation, using recycled plastics can be a game-changer.
Choosing the Right Plastics
Welcome back, eco-artists! Now that we’re all about keeping it green, let’s chat about picking the perfect plastics for your sublimation magic.
Identifying Eco-friendly Plastic Options for Sublimation Projects:
Not all plastics are created equal, right? When it comes to sublimation, we want to be picky about our plastic pals. Look out for plastics that wear the green badge proudly—these are your eco-friendly plastic options. Seek out materials that have been recycled or are known for their minimal environmental impact.
Remember, every choice you make as a crafter is like casting a vote for a greener planet. So, let’s be smart about it and choose plastics that align with our Earth-loving mission.
Characteristics of Plastics Suitable for Sublimation:
Now, not to get too technical, let’s talk about characteristics. For a plastic to be a rockstar in the sublimation world, it needs to be smooth, non-porous, and heat-resistant. Why? Smooth surfaces ensure your designs look crisp; non-porous materials absorb the sublimation inks like sponges; and heat resistance is crucial to handling the sizzling process.
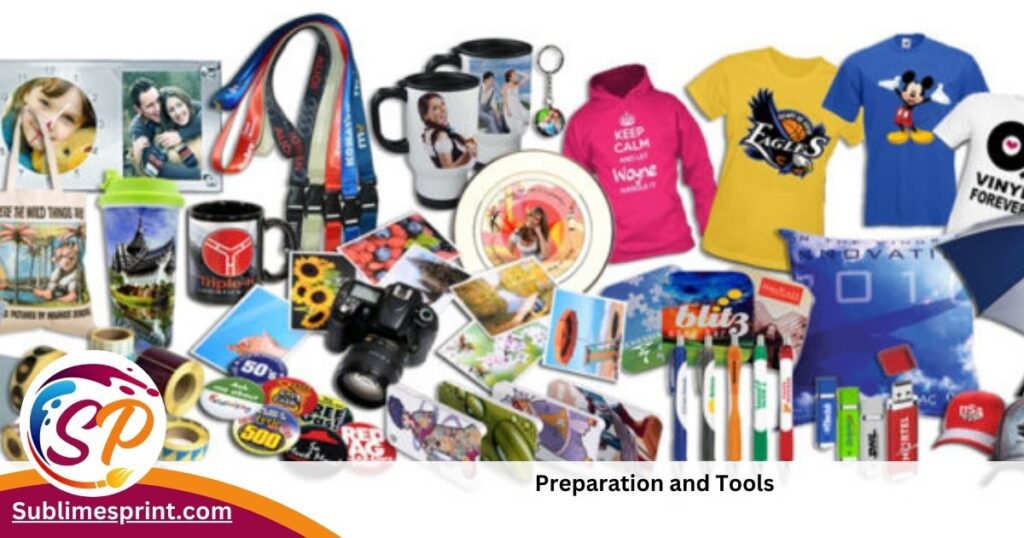
Preparation and Tools

Hello there, eco-crafters! Now that we’ve got our eco-friendly plastics lined up, let’s dive into the nitty-gritty of preparing them for the sublimation dance and gather our essential tools. Ready?
Step-by-Step Guide on Preparing Plastic Surfaces for Sublimation:
- Clean and smooth: Before you start, make sure your plastic canvas is clean and smooth. A simple wipe-down with a mild detergent can do wonders. Smooth surfaces ensure your designs come out looking sharp.
- Pre-pressing: It’s like giving your plastic a warm-up. Pre-press it for a few seconds to get rid of any moisture and wrinkles. A flat canvas is a happy canvas.
- Position Your Design: Place your design precisely where you want it. Tape it down if needed to avoid any unwanted movements during the process.
- Secure with Heat Tape: This is like the artist’s secret weapon. Heat-resistant tape secures your design in place, ensuring it doesn’t budge when the heat is on.
- Protect the surroundings: Cover any areas of the plastic you don’t want your design on. Sublimation inks are eager to stick to anything they touch, so be mindful of where you want the magic to happen.
Essential Tools and Equipment Needed for the Process:
- Sublimation Printer: The Heart of the Operation. A printer specially designed for sublimation is key to getting those vibrant prints.
- Sublimation Inks: These are not ordinary inks. Sublimation inks turn into gas when heated, ensuring your design becomes one with the plastic.
- Heat Press: The Powerhouse. A heat press is essential for transferring the sublimation inks from paper to plastic. It’s the final touch that brings your design to life.
- Heat-Resistant Tape: The Unsung Hero. Heat-resistant tape keeps your design in place during the heating process, ensuring it stays right where you want it.
- Sublimation Paper: A special paper designed to hold the sublimation inks before they transform into a gas and embed themselves in the plastic.
Read also: How Long Does 100ml Of Sublimation Ink Last
Eco-Conscious Sublimation Techniques
Congratulations on making it this far, eco-artists! Now, let’s explore how to infuse even more green vibes into your sublimation process. We’re not just creating art; we’re creating eco-masterpieces. Ready to dive in?
Choose Eco-Friendly Sublimation Inks: Your ink choice matters. Opt for inks that are labeled as eco-friendly or water-based. These inks often have a lower environmental impact compared to traditional ones.
Minimize waste: Let’s be smart about it. Only print what you need. This minimizes ink and paper waste, contributing to a cleaner crafting experience.
Reuse and Recycle: Got any test prints or unused sublimation paper? Don’t toss them out. Get creative and find ways to reuse or recycle them for smaller projects or experimental designs.
Sustainable Design Choices: Consider creating designs that promote eco-awareness or use nature-inspired themes. Your art can be a powerful tool to spread the message of sustainability.
Energy-Efficient Practices: Be mindful of your energy usage. Turn off equipment when not in use, and consider using energy-efficient appliances for sublimation. A little goes a long way toward being a green crafter.
Step-by-Step Sublimation Process
Alright, eco-artists, it’s time to roll up our sleeves and dive into the exciting process of sublimation on plastic. Grab your materials, put on your creative hat, and let’s make some eco-friendly magic happen.
Design Selection: Choose or create a design that speaks to your artistic soul. Whether it’s a vibrant pattern, a meaningful message, or a nature-inspired masterpiece, let your creativity run wild.
Printing with Precision: Load your sublimation printer with the chosen design and sublimation paper. Ensure your printer settings match the specifications of your ink and paper for the best results.
Preparing the Plastic Canvas: Remember our prep talk? Clean, smooth, and ready to go. Place your plastic canvas in the heat press for a quick pre-press, ensuring it’s in optimal condition to receive your design.
Positioning and Securing: Carefully position your design on the plastic canvas. Tape it down with heat-resistant tape, making sure it’s secure and won’t shift during the sublimation process.
Heat Press Magic: Set the temperature and time on your heat press according to the specifications of your sublimation inks and paper. Place your design-covered plastic into the heat press, close it, and let the heat do its thing.
The Big Reveal: Once the timer beeps, open the heat press and unveil your sublimated masterpiece. Witness the transformation as the inks turn into a gas, creating a vibrant, long-lasting design on the plastic.
Cool down and admire: Let your creation cool down before handling it. Take a moment to admire the fruits of your labor—a unique piece of art that not only reflects your creativity but also embraces eco-friendly crafting practices.
Creative Ideas for Eco-Friendly Art

Awesome work, eco-friends! Now that you’ve got the hang of making cool art with sublimation, let’s brainstorm some fun ideas. Get ready to mix your green values with loads of creativity!
Nature-Inspired Designs: Look around you; nature’s full of cool stuff! Create art inspired by flowers, animals, or pretty landscapes. It’s like bringing a bit of the outdoors into your art.
Upcycled Art Magic: Think outside the box (or canvas). Grab old stuff lying around and turn it into unique canvases. It’s like giving a second life to forgotten things.
Eco Messages: Let your art speak up for nature. Add messages about saving the planet or use symbols that shout, “Let’s take care of Earth!”
Sustainable Patterns: Try cool patterns that remind people of being eco-friendly. Maybe use arrows showing how things can be recycled or any design that says, “Hey, let’s be green!”
Plastic Piece Mosaics: Feeling crafty? Make designs using bits of recycled plastic. It’s like making a beautiful puzzle from stuff that might’ve ended up in the trash.
Team Eco-Art: Get your buddies involved! Make big art projects together. It’s like a teamwork party that shows everyone how awesome being eco-friendly can be.
Art That’s Useful: Make art that’s not just pretty but practical too. Think bookmarks, reusable bags, or personalized gifts that are good for the planet and look super cool.
Eco-Friendly Graphic Design with Sublimation
Hey creative folks! Let’s jazz up your graphic designs with a dash of eco-friendliness using sublimation. It’s like adding a green twist to your digital artwork.
Blend Sublimation into Graphic Design Projects:
Think of sublimation as your artistic sidekick. Blend it into your graphic designs to make them pop with vibrant colors and cool textures. Imagine your designs coming to life on surfaces that are kind to the environment.
Consider Eco-Conscious Approaches:
Keep nature in mind while crafting. Create designs that spread the word about taking care of our planet. Use symbols and themes that scream, “Let’s be eco-friendly!” Your designs can tell a story beyond just looking good.
Tips for Sustainable Printing Options:
If you’re into sustainable printing, here are some easy tips:
- Choose inks that are kind to the earth.
- Print only what you need to avoid waste.
- Try printing on recycled materials for an extra-eco-friendly vibe.
Advantages of Eco-Friendly Sublimation

Curious about why being eco-friendly with sublimation is a win-win? Let’s talk about the good stuff for both you and our lovely planet.
Highlighting Environmental Benefits:
Going eco-friendly means using inks that are friendlier to the environment. This keeps harmful chemicals away, making the printing process cleaner and greener.
Long-Term Advantages for Crafters and the Planet:
Now, let’s talk perks:
- Durability: Eco-friendly sublimation often means long-lasting prints, so your creations stick around.
- Less Impact on the Earth: By being eco-conscious, you’re helping the planet by making less waste and using fewer harmful substances.
- People Love It: If you’re selling your creations, going eco-friendly gives your brand a cool vibe. People love products that care for the earth.
FAQs:
How do you print directly on plastic?
Printing directly on plastic is a bit tricky because regular printers often can’t handle it. But there are special printers called UV printers that use ultraviolet light to dry the ink instantly on plastic surfaces. It’s like magic—the ink sticks right to the plastic without smudging.
Can sublimation be done on PVC?
No, sublimation doesn’t work well on PVC. Sublimation works best on materials that can absorb the ink when heated. PVC tends to repel the inks, so it won’t give you the vibrant and lasting prints that sublimation is known for.
How do you put a logo on a plastic bottle?
For putting a logo on a plastic bottle, you can use a method called pad printing. In simple terms, it involves transferring ink from a silicone pad onto the bottle. It’s like stamping the logo onto the bottle’s surface, and it works well for curved surfaces like bottles.
Can I sublimate on corrugated plastic?
Sublimating on corrugated plastic can be a bit tricky. The uneven surface may affect the transfer of ink. It’s often better suited for flat surfaces. If you really want to try, make sure the plastic is smooth and doesn’t have deep corrugations.
Can I sublimate on vinyl?
No, sublimation doesn’t work on vinyl. Vinyl can’t absorb the inks the way sublimation does. For vinyl items, it’s better to explore other printing methods, like using vinyl stickers or decals.
Can I heat transfer on PVC?
Yes, you can use heat transfer on PVC. This involves applying a design to a special transfer paper and then using heat to transfer the design onto the PVC. It’s like ironing on a cool design, but with a bit more technicality.
Can you sublimate on recycled poly?
Yes, you can sublimate recycled polyester. Sublimation works well on polyester fabrics, whether they’re recycled or not. Just make sure the fabric is polyester or has a high polyester content for the best results.
Conclusion of Sublimate on plastic
Hey, eco-champions, we’ve made it to the finish line! Let’s take a moment to recap our journey into the world of eco-friendly sublimation on plastic and spread some encouragement for a sustainable crafting future.
Recap of the Eco-Friendly Sublimation Process on Plastic:
We’ve traveled through the exciting process of turning plastic into a canvas for vibrant, eco-friendly art. From choosing the right plastics to the step-by-step sublimation magic, you’ve learned how to make your craft both artistic and kind to the planet.
Remember the key steps:
- Choose eco-friendly plastics.
- Prepare your canvas with care.
- Use the right tools and temperature.
- Dive into the creative process with a green mindset.
Embrace Sustainable Crafting Practices:
Now, here’s a big shoutout to you, the eco-artist! Embrace sustainable crafting practices in every project. Whether it’s using recycled materials, choosing eco-friendly inks, or spreading environmental messages through your art, every choice counts.
By adopting these eco-friendly approaches, you’re not just creating beautiful pieces; you’re contributing to a positive change in how we approach crafting.

I’m Ethan Richards, the guy running the show at “Sublimes Print.” I’ve been playing with colors and designs, making printing a whole lot of fun. Over at Sublimes Print, we’re here to make your ideas look incredible on paper. Let’s add some color and creativity to your world together!


