Hey there, creative minds! Today, we’re diving into something super cool—sublimate on paper. Imagine turning a plain piece of paper into a colorful masterpiece that feels as good as it looks!
Meet Emma Artisan, our friend who loves making awesome designs. We’re on a mission to discover the magic of sublimation on paper together. It’s like giving life to your drawings using special inks and heat.
Sublimation is like magic for artists. It’s when special inks transform into a gas without becoming a liquid first. This gas then becomes one with the paper, making colors that pop out and stay forever.
Now, let’s talk about the three superheroes in this story: special inks, a magical heat press, and the perfect paper. The inks are like the paint, the heat press is like the artist’s hands, and the paper is like the canvas. Choosing the right paper is like picking the perfect background for your drawings.
Why use paper, you ask? Well, paper is like a friendly playground for colors. It lets them stay vibrant and detailed. Plus, it’s not too hard on the pocket, so everyone can give it a try!
Don’t worry if it sounds a bit tricky right now. We’re here to guide you through this awesome journey. Let’s go step by step and turn your ideas into real, colorful pieces of art! 🚀 Stay tuned for more tips and tricks!
Understanding Sublimation on Paper
The Sublimation Process
Alright, let’s talk about the first part of our colorful adventure—sublimation. It’s like when you turn ice directly into vapor without it becoming water first. But for art, it’s turning special inks into a colorful gas. This gas goes into the paper, becoming one with it. Imagine your paper soaking up all those bright colors, making your artwork stand out!
Key Components: Sublimation Ink, Heat Press, and Paper Types
Now, let’s meet the main players in our art game. First, we have special inks. They are like the superheroes of colors. Then, there’s the magical heat press. This machine helps the inks turn into a gas and stick to the paper. Finally, we need the right paper. Think of it as the perfect stage for your colorful show. Choosing the right paper is crucial—it helps make your colors look awesome and stay that way.
Benefits of Sublimation on Paper
Why do we use paper for this cool trick? Well, paper loves colors! It soaks them up and makes them look super vibrant. And guess what? It’s not expensive, so anyone can try it! Plus, you can do more than just pictures; you can make cool patterns, designs, and even write words. Paper and sublimation are like best friends creating art together.
Addressing Common Misconceptions
Sometimes, people think sublimation on paper is too hard. But guess what? It’s not! With a bit of help and lots of creativity, you can turn a plain piece of paper into a work of art. So, let go of any worries, and let’s explore the awesome world of sublimation on paper together!
Getting Started with Paper Sublimation
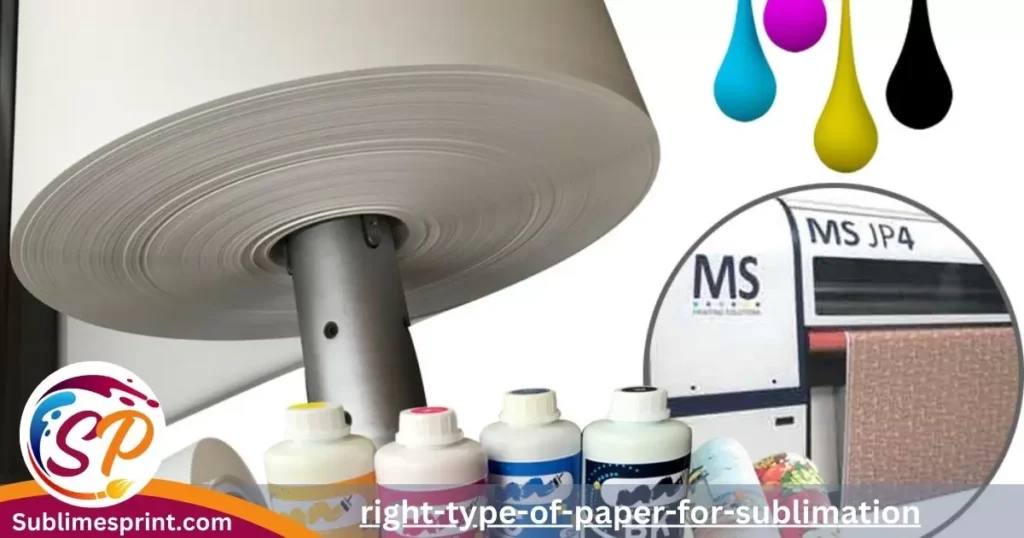
Choosing the Right Type of Paper for Sublimation

Now that we’re all excited about sublimation, let’s take a closer look at our canvas—the paper. Not all papers are the same, and for sublimation, you need a special kind. Think of it like choosing the right paper for watercolors or crayons. We want our paper to handle the colors like a champ!
For sublimation, pick papers specifically made for it. These papers are designed to handle the heat and absorb the inks just right. It’s like finding the perfect partner for a dance—they need to move together seamlessly.
Overview of Sublimation Inks Suitable for Paper
Our next star is the sublimation ink. These inks are not your regular ones. They are specially made for turning into a gas and jumping onto the paper. It’s like having a team of tiny artists working together to create something amazing.
When you’re getting started, make sure you have the right sublimation inks for your project. They come in different colors, just like a big box of crayons. Pick the ones that will make your artwork pop!
Essential Tools and Equipment, Including Heat Press Recommendations
Now, let’s talk tools! One essential tool is the heat press. This is the machine that brings our artwork to life. It works like a magic wand, turning the sublimation inks into that colorful gas we talked about earlier.
When choosing a heat press, look for one that fits your needs. It’s like picking the right brush for painting. Think about the size of your projects and how much space you have. The right heat press will make your sublimation journey smoother.
Setting Up a Workspace for Paper Sublimation Projects
Creating art is fun, but it’s even better when you have a cozy space to do it. Setting up a workspace for your paper sublimation projects is like creating your own little art haven.
Find a spot with good lighting and enough space for your tools. Make it a place where you feel inspired and ready to unleash your creativity. Having a dedicated space will make your sublimation adventures more enjoyable.
Now that we’ve got our tools and workspace ready, it’s time to move on to the exciting part—actually making some art! In the next section, we’ll guide you through the step-by-step process of sublimating on paper. Get ready for some hands-on fun!
Paper Sublimation Techniques and Tips
Step-by-Step Guide to the Paper Sublimation Process
Alright, let’s roll up our sleeves and get creative! The paper sublimation process might sound fancy, but it’s super fun and doable. Think of it like following a recipe for your favorite dish, but in this case, we’re cooking up colorful art!
Prepare Your Design: Start by creating or choosing the design you want to put on paper. It could be a drawing, a pattern, or even some cool text.
Print with Sublimation Inks: Print your design using those special sublimation inks we talked about earlier. Make sure your printer is ready to unleash those vibrant colors!
Place on Heat Press: Now comes the exciting part! Put your paper with the design on the heat press. It’s like sending your creation to the magical oven that brings it to life.
Apply Heat and Pressure: Close the heat press and let the magic happen. The heat and pressure will turn those inks into a gas, making them dance onto the paper.
Peel and Admire: Once the heat press does its job, carefully peel your paper. You’ll be greeted by your masterpiece! Admire those colors and details—they’re now part of the paper.
Tips for Achieving Vibrant and Long-Lasting Results
Want your artwork to stand out and last a long time? Here are some tips to make your paper sublimation projects top-notch:
- Use High-Quality Inks: Invest in good sublimation inks. They make a big difference in how your colors turn out.
- Get the Right Temperature and Time: Follow the recommended settings for your heat press. Getting the temperature and time just right ensures the colors stay vibrant.
- Choose the Right Paper: Remember our paper talk? Choosing the right type makes a huge impact. Experiment with different papers to find your favorite.
- Test, Test, Test: Before diving into a big project, do a test run. It’s like trying a small piece of cake before baking a whole one. This helps you adjust and perfect your technique.
Troubleshooting Common Issues in Paper Sublimation
Every artist faces challenges, but fear not! Let’s tackle some common hiccups in paper sublimation:
- Fading Colors: If your colors fade, try increasing the temperature slightly and adjusting the press time.
- Uneven Prints: Ensure your paper is flat and properly secured on the heat press. Uneven pressure can cause uneven prints.
- Smudges or Blurs: Check for any debris or ink residue on your heat press. Keep it clean for crisp prints.
- Experiment and Learn: Don’t be afraid to experiment. Each project is a chance to learn and improve. Embrace the creative journey!
Now that you’re armed with techniques and tips, let’s move on to the exciting part—exploring creative possibilities with sublimation on paper. Get ready to take your art to the next level!
Read Also: What Is The Best Sublimation Spray For Cotton?
Exploring Creative Possibilities
Okay, creative champs, we’re stepping into the world of endless possibilities! Let’s talk about how you can use sublimation on paper to create unique and eye-catching artwork.
Creating Patterns, Designs, and More
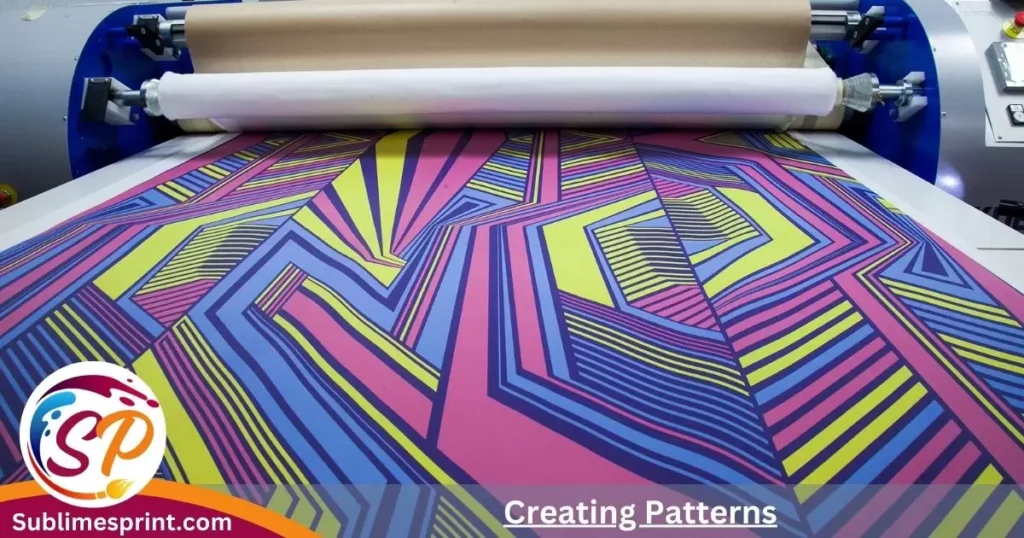
You’re not limited to just pictures! With sublimation on paper, you can create awesome patterns, intricate designs, and even add your favorite quotes or messages. It’s like having a colorful playground for your imagination.
Showcasing Examples of Successful Paper Sublimation Projects
Let’s take a peek at some cool projects to spark your inspiration:
Customized T-Shirts: Print your designs on special paper, then transfer them to a plain T-shirt for a personalized and trendy look.
Mugs and Drinkware: Imagine sipping your favorite drink from a mug with your own designs. Sublimation lets you turn ordinary items into personalized treasures.
Artistic Home Decor: Transform plain cushions, curtains, or even canvas prints with your unique artwork. Spruce up your living space with a touch of your creativity.
DIY Paper Sublimation Projects
Alright, creative enthusiasts, it’s time to roll up your sleeves and dive into some hands-on fun! Let’s explore exciting DIY projects using sublimation on paper. Get ready to turn your ideas into vibrant, tangible creations.
Simple and Creative DIY Projects Using Sublimation on Paper
Customized Tote Bags:
- Start with a plain tote bag.
- Print your favorite design on sublimation paper.
- Use the heat press to transfer the design onto the tote bag.
- Voila! You’ve got a unique, personalized accessory.
Colorful Phone Cases:
- Find a plain phone case compatible with your device.
- Print a design that reflects your style.
- Transfer the design using the heat press.
- Enjoy a custom phone case that stands out.
Personalized Mouse Pads:
- Upgrade your workspace with a custom mouse pad.
- Design a pattern or add motivational quotes.
- Sublimate your creation onto the mouse pad.
- Elevate your desk game with a touch of personal flair.
Demonstrating the Artistic Potential of Sublimation for At-Home Projects
Creating art at home has never been this exciting! With sublimation on paper, you can add a splash of creativity to everyday items. It’s like turning your living space into your own personalized art gallery.
Engaging Readers with Hands-On Activities and Project Ideas
Ready to embark on your DIY journey? Here’s a simple project for you to try:
Materials Needed:
- Sublimation paper
- Blank cards or cardstock
- Sublimation inks
- Heat press
teps:
- Choose or create a design for your greeting card on your computer.
- Print the design on sublimation paper using sublimation inks.
- Place the sublimation paper on the blank card or cardstock.
- Use the heat press to transfer the design onto the card.
- Let it cool, and your personalized greeting card is ready to spread joy!
This hands-on activity allows you to experience the magic of sublimation on paper in a simple and enjoyable way.
Get ready to unleash your creativity and infuse your surroundings with your unique touch. Stay tuned for the conclusion, where we’ll recap the exciting journey of exploring sublimation on paper and encourage you to continue your artistic adventures!
Integrating Sublimation into Graphic Design
Attention graphic designers like our friend Emma Artisan! Sublimation on paper is your secret weapon for adding that extra wow factor to your designs. Experiment with incorporating sublimated elements into your digital creations for a fresh and vibrant twist.
Real-World Applications in Artistic Endeavors
Sublimation on paper isn’t just for fun—it’s making waves in the professional art world too. Artists are using this technique to create limited-edition prints, unique stationery, and even gallery-worthy pieces. It’s a versatile tool that adds a whole new dimension to artistic expression.
Inspiring Ideas for Your Next Project
Feeling inspired yet? Here are a few ideas to get those creative juices flowing:
- Seasonal Greetings: Design your own holiday or birthday cards with personalized messages. Your loved ones will cherish these unique creations.
- DIY Wall Art: Create a stunning gallery wall by framing your sublimated designs. It’s a budget-friendly way to decorate your space with one-of-a-kind art.
- Custom Notebooks and Journals: Turn plain notebooks into personalized treasures. Add your designs to the cover for a stylish and unique touch.
Remember, the key is to let your imagination run wild. Sublimation on paper is your artistic playground, so don’t be afraid to experiment and create something truly extraordinary!
Stay tuned as we move on to the next section, where we’ll explore exciting DIY projects using sublimation on paper. Get ready to bring your ideas to life!
People also ask
Can I sublimate cardstock?
- Yes, you can! Cardstock is a great choice for sublimation. It’s sturdy and can handle the heat during the sublimation process, making it a suitable canvas for your colorful designs.
Can you sublimate with regular copy paper?
- While regular copy paper can be used for sublimation, it may not absorb the inks as well as special sublimation paper. The results might be less vibrant. For the best outcome, it’s recommended to use paper specifically designed for sublimation.
May I sublimate on kraft paper?
- Yes, you can sublimate on kraft paper! Kraft paper adds a unique touch to your creations. Just make sure it’s suitable for sublimation to ensure the colors transfer well.
What surface can you sublimate on?
- You can sublimate on various surfaces like fabric, metal, ceramic, and specially coated materials. Each surface absorbs the inks differently, so it’s important to choose materials compatible with the sublimation process. Always check if the surface is suitable before diving into your colorful project!
Conclusion
Congrats, creative pals! We’ve had an amazing adventure exploring the wonders of sublimation on paper. Remember Emma Artisan, our art-loving friend? She’d be thrilled to see the fantastic projects you’ve created.
We’ve learned how to turn plain paper into a canvas for colorful masterpieces. From understanding the sublimation process to trying out DIY projects, you’ve unlocked a world of creative possibilities.
As you continue your artistic journey, keep experimenting, learning, and most importantly, having fun! Sublimation on paper is like a magical paintbrush that lets you bring your imagination to life.
So, grab your inks, heat press, and paper, and let the creativity flow. Whether you’re a seasoned artist or just starting, sublimation on paper welcomes everyone to join the colorful adventure. Keep creating, and let your art shine bright!

I’m James Wilson, the driving force behind “Sublimes Print.” I’ve been deep in the world of sublimation printing, bringing my expertise and hands-on experience to the table. With a robust background in the art of sublimation printing, I’m all about sharing insights, exploring industry innovations, and fostering a collective appreciation for the craft.
So, join me on this printing journey, where we dive into the intricacies of sublimation and celebrate the beauty it brings to the world of printing!