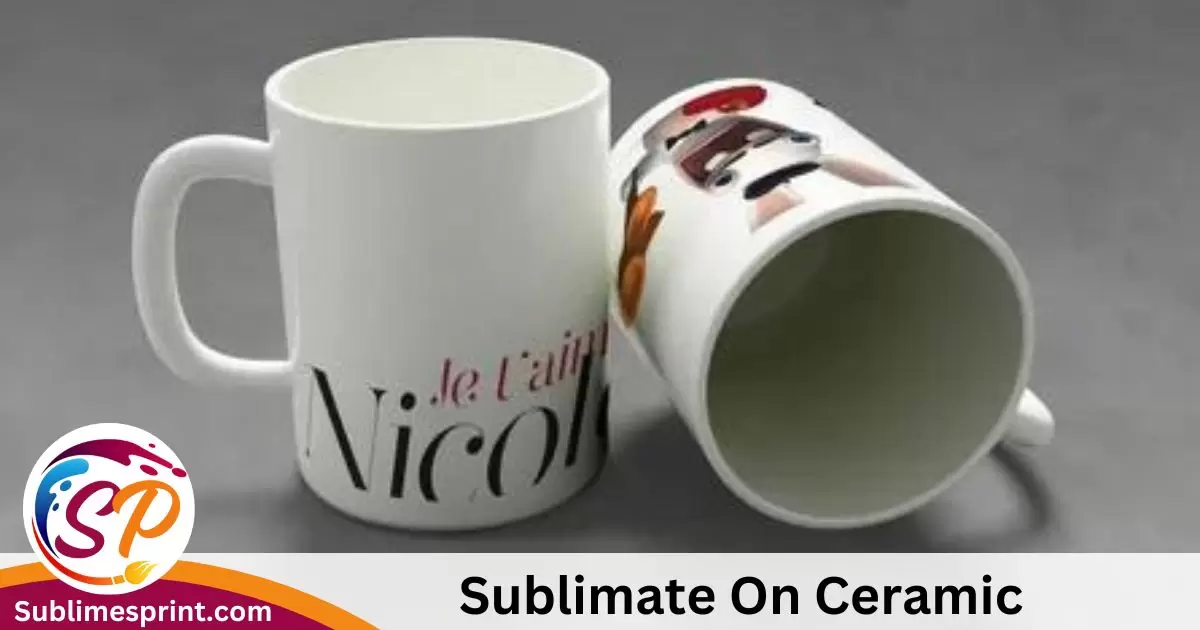
There are various types of ceramic blanks and substrates suitable for sublimation. However, it’s important to note that not every ceramic mug or item will work. The surface must be specifically coated with a poly-coating for the ink transfer to occur. Always look for items labeled as “sublimation” to ensure compatibility.
Today, we’re diving into the cool world of coloring ceramic with a super awesome trick called sublimation. If you love making things that are uniquely yours, this is the perfect ride for you.
In this guide, we’ll learn how to turn regular old ceramics into totally awesome, personalized treasures. Whether you’re a pro or just starting out, get ready to turn your plain ceramics into something mind-blowingly cool.
Understanding Sublimation on Ceramic
Now, let’s get the lowdown on what sublimation in ceramic is all about. Imagine this: you can put fancy designs, colors, and your very own style onto your ceramics. It’s like giving your stuff a magical makeover!
Here’s the easy recipe for your ceramic magic:
- Ceramic Blanks: These are like your plain canvas—stuff like mugs, tiles, or plates. You get to pick what you want to jazz up!
- Sublimation Ink: This is the superhero ink that makes your designs come alive. When it gets hot, it turns into a gas and jumps onto your ceramic, making it look amazing.
- Heat Transfer Tools: These are like your helpers. A heat press or oven is what you need to make sure your designs stick to the ceramic and stay there forever.
Getting Started with Ceramic Sublimation
Ready to make your ceramics pop with colors and designs? Let’s take it step by step, especially if you’re new to this whole ceramic sublimation thing. Trust me, it’s going to be a blast!
Step-by-Step Guide for Beginners:
- Preparing Ceramic Surfaces: Alright, first things first. Make sure your ceramic blank is clean and ready to soak in all the awesomeness. Wipe it down with a gentle cloth to get rid of any dust or dirt. Smooth surfaces make for the best canvas, so take a moment to ensure your ceramics are spick and span.
- Applying Sublimation Ink: Time to get artsy! Lay your ceramic blank on a flat surface. Now, grab your sublimation ink and start applying your design. You can use special sublimation paper or even draw directly on the ceramic. Just remember, this is where your creativity shines, so go wild with those colors and patterns!
- Using a Heat Press for Transfer: This step is like the grand finale. Once your ceramic is inked up, it’s heat press time! Place your masterpiece into the heat press, set it to the right temperature, and let the magic happen. The heat press makes the sublimation ink turn into a gas, sticking your design to the ceramic forever. How cool is that?
Tips for Achieving Vibrant and Lasting Prints:
Now that you’re a sublimation pro, let’s talk about making your creations stand out and last a lifetime.
- Choose Quality Ink: Go for the good stuff. Quality sublimation ink ensures your colors stay vibrant and don’t fade over time.
- Experiment with Designs: Mix it up! Try different designs and patterns to see what looks best on your ceramics. Don’t be afraid to let your imagination run wild.
- Follow Heat Press Guidelines: Each heat press is different, so make sure to follow the instructions. The right temperature and time are key to a perfect transfer.
Troubleshooting Common Issues in Ceramic Sublimation:
Uh-oh, did something go not-so-perfect? No worries! Let’s troubleshoot common problems:
- Fading Colors: If your colors look a bit dull, try increasing the pressure on your heat press or check if your sublimation paper needs an upgrade.
- Uneven Transfers: Make sure your ceramic is flat in the heat press. Uneven pressure can lead to uneven transfers. Press evenly for picture-perfect results.
- Ink Smudges: Uh-oh, ink on the loose? Wipe excess ink carefully before pressing, and ensure your ceramic is clean and dry before starting.
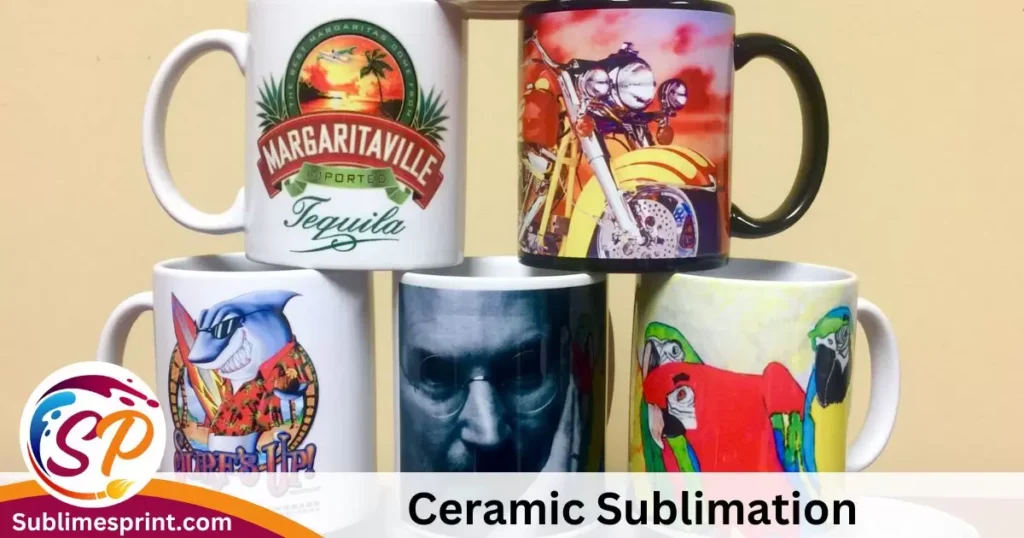
Creative Ceramic Sublimation Projects
Awesome job mastering the basics of ceramic sublimation! Now, let’s jump into the fun stuff—making cool, personalized projects with your ceramics. Get ready to turn everyday items into unique treasures and add an artsy touch to your home!
Personalized Ceramic Gifts:
- Custom Mugs: Picture this: your own special mug with your favorite designs. Make your morning coffee or tea extra special by adding fun pictures, quotes, or doodles to your mug.
- Decorative Tiles: Turn plain tiles into mini works of art. Create custom coasters or even decorate your space with tile art by adding cool designs using sublimation.
- Ceramic Photo Frames: Capture memories in a unique way. Add a personal touch to your favorite photos by sublimating them onto ceramic frames. A fantastic way to showcase your special moments!
Artistic Applications on Ceramics:
- Pottery with Sublimation: Take your clay creations to a whole new level. Before you fire up your pottery, add amazing designs with sublimation for pottery that stands out.
- Sublimated Ceramic Coasters: Keep your tables safe in style! Create custom coasters by adding colorful patterns or pictures using sublimation. They’re practical, and they look super cool!
- Incorporating Sublimation into Ceramic Sculptures: Make your sculptures pop with color. Add sublimation designs to your ceramic sculptures for a creative and personal touch.
Inspirational Ideas for Home Decor

Now that you’re a sublimation pro, let’s talk about making your living space look extra cool with ceramic sublimation.
Enhancing Home Spaces with Sublimated Ceramics:
- DIY Sublimated Vases: Turn plain vases into showstoppers. Add your own designs to ceramic vases with sublimation for a unique touch to your home decor.
- Sublimation on Ceramic Plates: Fancy up your dining experience. Create personalized plates with sublimation for special meals or everyday use. Your dining table just got a stylish upgrade!
- Unique wall art using ceramic tiles: Transform your walls into an art gallery. Arrange sublimated ceramic tiles creatively for a special and eye-catching wall display.
Customization and Personalization
Let’s talk about why it’s awesome to make everything uniquely yours with customization and personalization in ceramic sublimation.
Importance of Personalized Ceramic Creations:
In a world full of similar stuff, having things that are uniquely yours is pretty special. Personalized ceramics let you add your touch to your creations, making them extra meaningful.
Showcasing Individuality through Sublimation:
Let your style shine. Sublimating on ceramics lets you showcase your personality. Whether it’s a fun doodle, a favorite saying, or a picture that means a lot to you, let your creations reflect who you are.
Creating Meaningful Gifts with a Personal Touch:
Gifts become even more special when they’re one-of-a-kind. Craft personalized ceramic gifts with care, and you’ll be giving something that’s truly unique and heartwarming.
Choosing the Right Tools and Materials
Now that you’re all set to dive deeper into ceramic sublimation, let’s talk about picking the perfect tools and materials. Making the right choices ensures your creations turn out just the way you want them—vibrant, long-lasting, and totally awesome!
Overview of Sublimation Ink Options:
When it comes to sublimation ink, there are a few options to consider. The key is to choose ink that not only works well but also brings out the brilliance of your designs.
- Quality Matters: Go for the good stuff! Quality sublimation ink ensures your colors stay bright and lively over time. It might be a bit pricey, but the results are totally worth it.
- Compatibility with Your Printer: Make sure the ink is compatible with your printer. Check the manufacturer’s recommendations to avoid any hiccups during the printing process.
- Color Range: Look for a sublimation ink set with a good range of colors. Having a variety to play with allows you to create a broader spectrum of designs.
Selecting Quality Ceramic Blanks:
Now, let’s talk about the stars of the show—your ceramic blanks. Choosing the right ceramics sets the stage for stunning creations.
- Surface Quality: Opt for ceramics with a smooth and even surface. This provides the perfect canvas for your designs, allowing the ink to adhere seamlessly.
- Types of Ceramics: Consider the type of ceramics you’re working with. Different ceramics may require slight adjustments in temperature and pressure during the sublimation process.
- Size and Shape: Pick ceramic blanks that suit your project. Whether it’s a mug, plate, or tile, choose sizes and shapes that complement your design ideas.
Comparison of Different Heat Transfer Tools for Ceramics:
Now, let’s talk about the tools that bring the heat—literally! Your choice of a heat transfer tool plays a crucial role in achieving perfect sublimation results.
- Heat Press: The go-to tool for many sublimation enthusiasts. Make sure your heat press is equipped with even heating and adjustable pressure settings for optimal results.
- Convection Oven: An alternative for those without a heat press. Make sure your oven can maintain a consistent temperature throughout the sublimation process.
- Time and Temperature Guidelines: Follow the guidelines provided by your ink and ceramic manufacturers. Different combinations of ink, ceramics, and tools may require specific time and temperature settings for the best outcome.
Tips for Beginners in Ceramic Sublimation
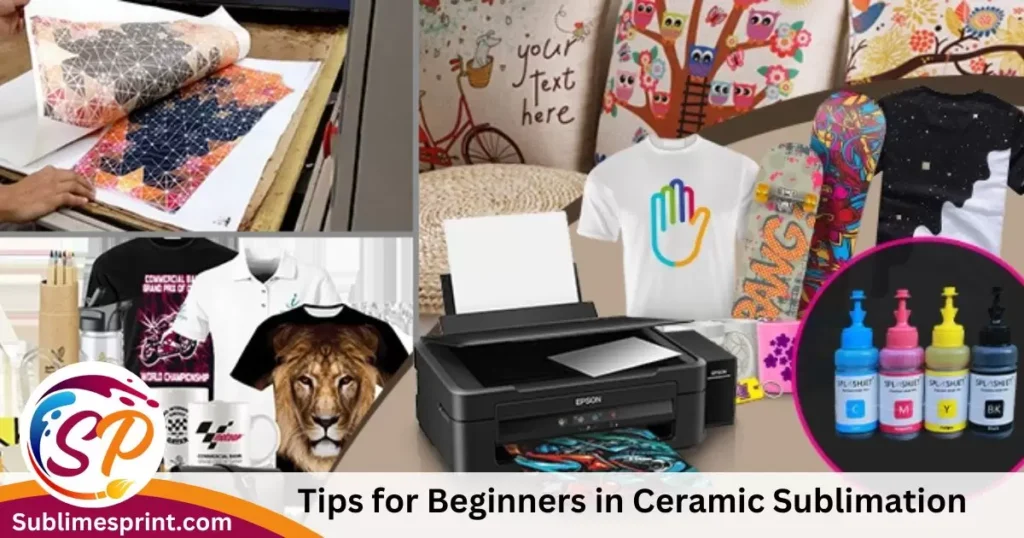
Great job getting ready for your ceramic sublimation adventure! Now, let’s go over some simple tips to make sure you have a blast and your creations turn out awesome.
Addressing Common Challenges:
- Start Small: If you’re new to this, begin with smaller projects. It’s like learning to ride a bike—start with training wheels before going for a long ride!
- Practice on Scrap: Before working on your main project, practice on spare ceramics. Think of it like doodling before you create your masterpiece. It helps you get the hang of things.
- Experiment with Designs: Don’t be shy to try different designs. It’s like playing with colors in a coloring book. Experimenting helps you figure out what you like and what looks super cool.
Time-Saving Techniques for Busy DIY Enthusiasts:
- Batch printing: If you’re making lots of things with the same design, print them together. It’s like making cookies—do it all at once for a bunch of tasty treats!
- Pre-Plan Designs: Plan your designs ahead of time. It’s like having a game plan before playing your favorite game. It makes things go smoother and quicker!
- Invest in Quality Tools: If you really love doing this, consider getting good tools. Like having good crayons for coloring, it makes your creations look even more amazing!
Building Confidence in Sublimating on Ceramic:
- Celebrate Small Wins: Yay for every little success! Celebrate when things go right. It’s like getting a gold star for doing something awesome!
- Connect with the community: Talk to others who love this stuff too. It’s like having friends who also love playing your favorite game. You can share tips and tricks!
- Learn from Mistakes: Mistakes happen—no biggie! Learn from them, just like figuring out how to solve a puzzle. It makes you better at what you do!
FAQs:
What temperature and time for ceramic sublimation?
When sublimating ceramics, a general guideline is to use a heat press set at around 400°F (about 204°C) for 15-20 minutes. This helps the sublimation ink turn into a gas and get absorbed by the ceramic surface.
What temperature and how long to sublimate ceramic ornaments?
For ceramic ornaments, you can stick to the same temperature range of about 400°F (204°C). The sublimation time usually ranges from 10-15 minutes. However, always check the specific instructions that come with your sublimation ink and ornaments for the best results.
Can all mugs be sublimated?
Not all mugs are created equal! For sublimation, it’s best to use mugs with a special coating designed for this process. These mugs have a smooth, polymer coating that helps the sublimation ink adhere properly. Regular mugs without this coating won’t work as well for sublimation.
Do you let sublimation cool before peeling?
Absolutely! After sublimating, let your project cool down before peeling off any protective layers, like sublimation paper or plastic. It’s like waiting for your cookies to cool before enjoying – patience makes sure everything turns out just right!
Read Also: How To Sublimate On Glitter Htv?
Why is my sublimation not transferring?
A few things could be causing this issue. Make sure your heat press is at the right temperature and that you’re pressing with enough pressure. Also, check your sublimation paper – it should be placed with the coated side facing down on your ceramics. If you’re still having trouble, double-check your ink and ceramic compatibility, and always follow the manufacturer’s guidelines.
How long do I sublimate a ceramic ornament?
As mentioned earlier, sublimating a ceramic ornament usually takes around 10-15 minutes at a temperature of approximately 400°F (204°C). Always refer to the specific recommendations provided with your sublimation ink and ornaments for the best results.
Conclusion: Unleash Your Creativity with Ceramic Sublimation
Awesome journey, creator! You’ve learned the ropes of ceramic sublimation, turning plain ceramics into your very own masterpieces. Let’s wrap it up, celebrate your achievements, and encourage you to keep exploring the colorful world of sublimation!
Recap of Key Points:
- What You Need: Remember, it’s simple – you just need some cool ceramics, sublimation ink, and a way to heat things up (like a heat press or oven).
- Steps for Success: Prep your ceramics, add your designs with sublimation ink, and heat it up with a press or oven. That’s the magic formula for turning plain into amazing!
- Creative Projects: From mugs to vases, you can now transform everyday items into unique treasures. Let your imagination run wild and make your space as cool as you are!
Encouragement to Keep Exploring:
- Keep Having Fun: The most important part is to enjoy the process. It’s like playing your favorite game – have fun, and let your creativity flow!
- Share Your Creations: Don’t keep your awesome creations to yourself. Share them with friends, family, or the online community. It’s like showing off your high score – be proud of your work!
- Never Stop Learning: This is just the beginning. Keep learning, experimenting, and trying new things. It’s like leveling up in a game – each challenge makes you better and more skilled!

I’m Matthew Porter, the creative mind behind “Sublimes Print.” I’ve been having a blast creating all sorts of cool stuff with ink and paper. At Sublimes Print, we’re all about turning your ideas into vibrant, eye-catching prints. Let’s make your imagination come to life on paper—join me in the fun at Sublimes Print!