You can sublimate on card stock if it has a polymer coating.
Welcome to the colorful world of Sublimation on Card Stock! Whether you’re an aspiring artist, a DIY enthusiast, or just someone curious about unconventional printing methods, this guide is your ticket to unlocking the magic of sublimation printing on sturdy card stock.
Hey there, I’m your friendly neighborhood bird consultant, ready to take you on this exciting journey. But first, let’s flap our wings and understand what sublimation printing is all about.
Understanding Sublimation Printing Basics
Alright, young explorer, imagine this: sublimation printing is like a secret potion that transforms ink into a gas without going through a liquid stage. Cool, right? This gas then fuses with the fibers of the material you’re printing on. But why card stock, you ask? Well, hold onto your feathers because card stock is like a superhero in the printing world – sturdy, reliable, and perfect for holding vibrant colors.
Now, to dive deeper, let’s grab our magnifying glass and look at the tools you’ll need for this printing adventure. First up, Equipment for Sublimation. Picture a heat press and special sublimation ink as your trusty sidekicks. These are what you’ll use to bring your designs to life on that tough card stock canvas.
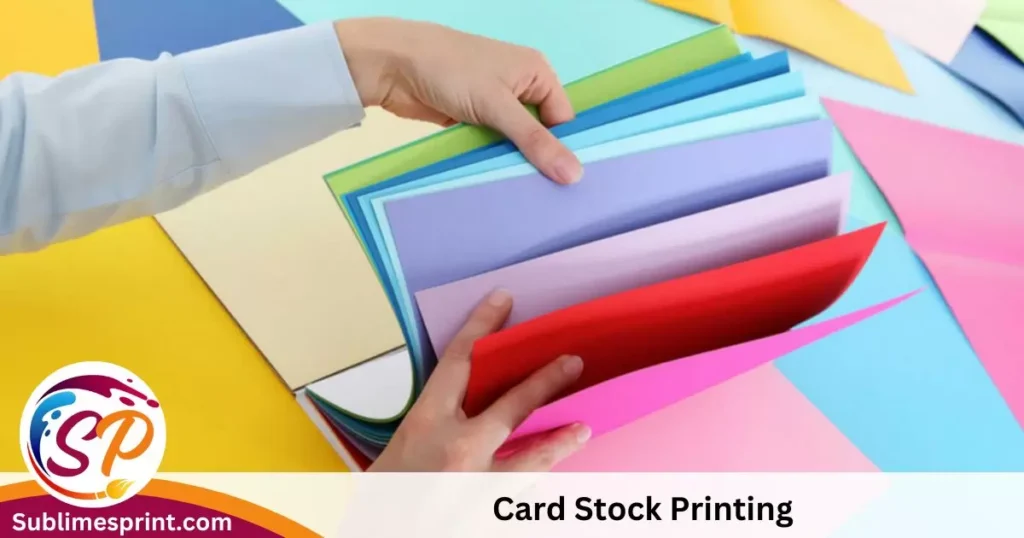
But wait, there’s more! Choosing the right card stock is key. You don’t want flimsy paper that crumples at the slightest touch. Selecting the Perfect Card Stock involves finding the Goldilocks of thickness – not too thin, not too thick, but just right for your printing escapades.
Okay, now that we’ve got our gear sorted, let’s talk technique. Sublimation Process 101: You’ll start by preparing your design on a computer (think of it like creating a masterpiece on a digital canvas). Then, using special paper, you’ll transfer that design onto the card stock using heat and pressure from the heat press. Voila! Your design magically appears on the card stock, vibrant and ready to impress.
Advantages of Sublimating on Card Stock
Alright, young artists and crafters, now that we’ve got our sublimation basics covered, let’s talk about why card stock is the superhero cape your designs have been waiting for.
Picture this: You’ve just printed a masterpiece on regular paper, and it looks great. But what if you want something sturdier? That’s where card stock swoops in to save the day. The Advantages of Sublimating on Card Stock are like a treasure trove for your creative endeavors.
First up, durability! Card stock isn’t your average paper; it’s thicker, tougher, and ready for action. When you print on card stock, your designs become like mini works of art on a sturdy canvas. No more worries about flimsy prints – these babies can withstand a bit of roughhousing.
Now, let’s talk about colors. You know how sometimes your favorite crayons don’t look as vibrant on certain papers? Well, card stock is here to make sure your colors pop. Because of its thickness, card stock absorbs ink in a way that makes your designs more vivid and eye-catching. It’s like turning up the volume on your favorite song.
But what about versatility? Oh, card stock has that covered too! It’s not just for printing pictures. You can use it for all sorts of DIY projects – from making personalized greeting cards to creating unique wall art. The possibilities are as endless as a bird’s flight across the sky.
Now, here’s a secret that not everyone knows: sublimation on card stock is like giving your designs a secret weapon. The ink fuses with the fibers of the card stock, creating a bond that’s stronger than most printing methods. It’s like a superhero team-up – ink and card stock working together for unbeatable results.
Getting Started: Materials and Equipment
Now that you’re buzzing with excitement about sublimating on card stock, let’s gear up for the adventure. Think of this section as your superhero utility belt – it’s got everything you need to conquer the world of card stock sublimation!
Sublimation Ink and Its Compatibility with Card Stock: A Dynamic Duo
Alright, little artists, meet the first member of our sublimation squad: Sublimation Ink. This isn’t your ordinary ink; it’s a magical potion that turns into gas when heat and pressure come into play. Why does this matter? Because it’s this gas that dives deep into the fibers of your card stock, creating vibrant, long-lasting prints.
But here’s the thing – not all inks are created equal. You need special sublimation ink for this superhero task. Regular ink won’t do the trick. So, before you take flight into the world of printing, make sure you’ve got your hands on the right ink – the kind that’s ready to transform into a color-explosion on your card stock canvas.
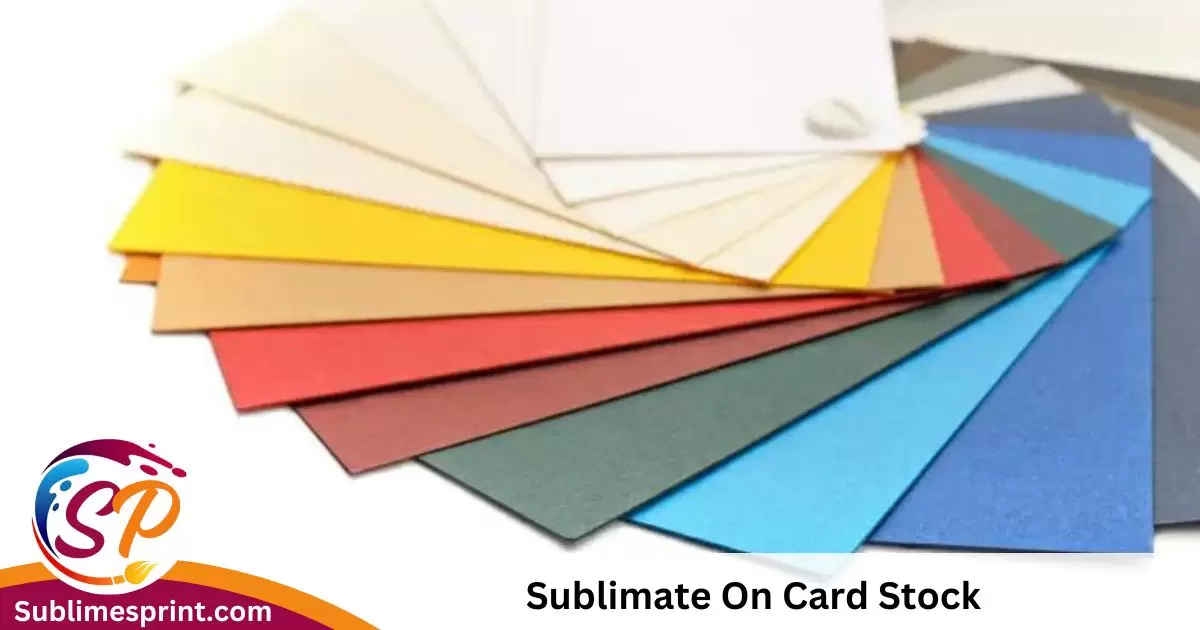
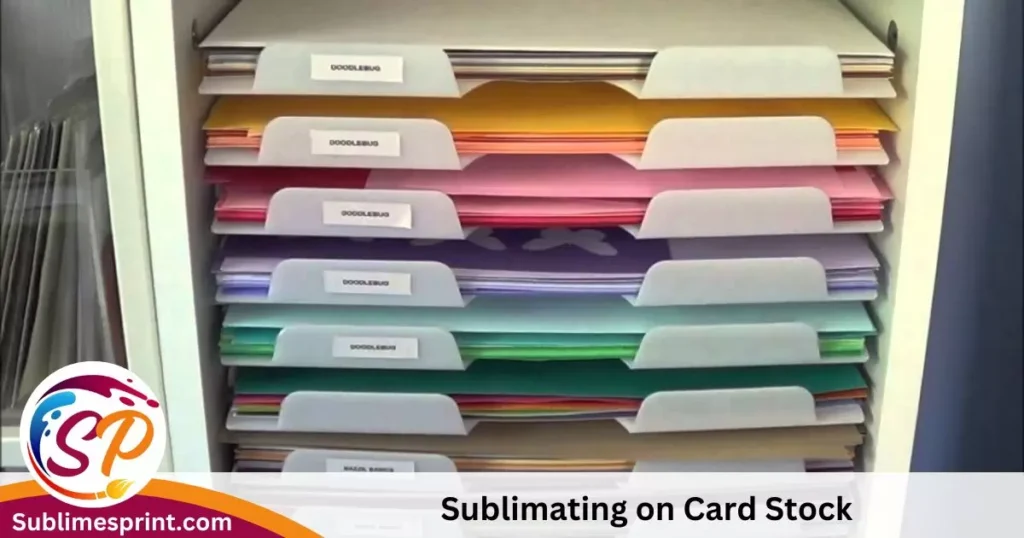
Selection of Suitable Card Stock Types: Choosing Your Canvas
Now, let’s talk about the canvas for your artistic endeavors – the mighty Card Stock. Just like artists choose different brushes for different strokes, you need to pick the right card stock for your printing masterpiece.
Card stock comes in various weights and finishes, and each type brings its own charm. If you’re aiming for a sturdy finish, go for a higher weight – it’s like upgrading your canvas to a heavyweight champion. For a smooth, polished look, opt for a glossy finish. Matte finishes, on the other hand, offer a more subtle elegance.
Think of your choice of card stock as setting the stage for your artwork. It’s not just paper; it’s the foundation of your creative expression. So, explore the options, touch and feel the different textures, and choose the one that complements your artistic vision.
Recommended Heat Press Settings for Card Stock: The Heat Wizardry
Now, let’s talk about the magic wand in our arsenal – the Heat Press. This is where the alchemy of sublimation happens. Picture it as a giant, friendly iron that brings your designs to life. But like any wizard, it needs the right spells – or in this case, the right settings.
For card stock, we’re aiming for a balance – not too hot, not too cold. Think of it like finding the perfect temperature for your hot chocolate. Too hot, and it might scorch; too cold, and it won’t melt the magic properly. So, set your heat press to around 385°F (196°C) and press for about 45 seconds to a minute.
Step-by-Step Guide: Sublimating on Card Stock

Welcome, brave creators, to the heart of our sublimation adventure! In this section, we’re diving deep into the step-by-step process of bringing your designs to life on the sturdy canvas of card stock. So, grab your tools, and let’s get ready to make some magic!
Preparing the Design for Sublimation: Unleash Your Creativity
First things first, let’s talk about your masterpiece in the making – your Design. Whether it’s a dazzling artwork, a personalized greeting card, or a funky pattern, this is the time to let your creativity soar.
On your digital canvas (yes, the computer screen!), create the design you want to bring to life. Use design software, unleash your inner artist, and make sure your colors are as vibrant as a rainbow. Keep in mind the dimensions of your card stock – you want the design to fit perfectly.
Once your design is ready, mirror it. This may sound like a magical incantation, but it simply means flipping the image horizontally. Why? Because when you transfer it onto the card stock, it’ll appear the right way around. Clever, huh?
Read Also: Can You Sublimate On Satin?
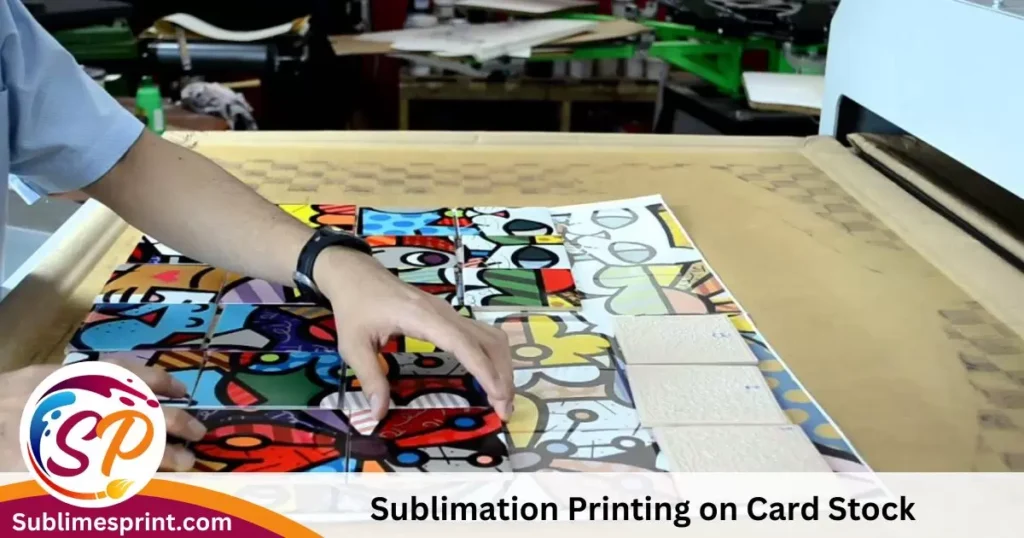
Transfer Process onto Card Stock: The Dance of Ink and Fibers
Now, let’s get to the nitty-gritty of the Transfer Process. Imagine this as the moment your design steps onto the stage. Print your mirrored design on special sublimation paper – think of it as the portal that carries your creation to the card stock realm.
Place the printed sublimation paper on top of your card stock, creating a magical sandwich with your design in the middle. Secure it in place with heat-resistant tape, like a wizard sealing a spell.
Now, it’s showtime! Fire up your heat press to the previously mentioned temperature (around 385°F or 196°C). Gently place your card stock sandwich inside the press, close it, and let the magic happen for about 45 seconds to a minute.
Heat Press Techniques for Optimal Results: Patience, Young Wizards
As your design dances with the heat and pressure, it’s crucial to master the art of Heat Press Techniques. Patience is your ally here. Don’t rush the process – let the heat and pressure work their magic. And remember, just like a good potion, too much or too little won’t yield the best results.
Once the timer beeps, unveil your creation. Carefully peel away the sublimation paper, revealing your vibrant design now embedded in the fibers of the card stock. It’s like unwrapping a gift from the magical printing universe!
Troubleshooting Common Issues: Wizards to the Rescue
But what if, perchance, things don’t go as smoothly as expected? Fear not, for every wizard faces challenges. Let’s tackle some Common Issues you might encounter.
- Dull Colors: If your colors aren’t as vibrant as you hoped, check your heat press settings. Adjust the temperature and time until you find the sweet spot.
- Blurred Images: Ensure your design is high-resolution, and the sublimation paper is properly secured. A blurry image might be the result of movement during the pressing.
- Uneven Prints: This could be a sign of uneven pressure. Make sure your heat press is applying consistent pressure across the entire surface.
Tips and Tricks for Successful Sublimation Printing on Card Stock
Congratulations, young maestros of sublimation! You’ve taken the plunge into the magical realm of printing on card stock. Now, let’s elevate your craft with some wizard-level Tips and Tricks to make your designs shine brighter than ever before.
Achieving Vibrant Colors and Sharp Details: The Color Alchemy
Ah, colors – the heartbeat of every masterpiece. To ensure your designs burst with life, here are some Tips for Achieving Vibrant Colors and Sharp Details:
- Quality In, Quality Out: Start with a high-resolution design. The clearer your image, the crisper your print will be.
- Master the Color Palette: Understand the color wheel and choose a palette that complements your design. Bold contrasts and vibrant hues work wonders on card stock.
- Optimal Ink Saturation: Adjust your sublimation printer settings to ensure the ink saturates the card stock evenly. Too much or too little can affect the final result.
- Experiment with Card Stock Finishes: Glossy or matte? Each finish interacts with colors differently. Experiment to see which one enhances your design’s vibrancy.
Remember, achieving vibrant colors and sharp details is a bit like crafting a potion – precise measurements and a sprinkle of creativity make all the difference.
Creative Design Ideas and Inspirations: Unleash Your Imagination
Now, let’s dive into the treasure trove of creativity. Here are some Creative Design Ideas and Inspirations to spark the flames of your imagination:
- Photo Collages: Transform memories into personalized keepsakes with a collage of photos. Family gatherings, vacations, or even pet adventures – the possibilities are endless.
- Typography Magic: Play with different fonts, sizes, and styles. Create motivational quotes, quirky sayings, or even spell out your name in a visually stunning way.
- Nature’s Palette: Draw inspiration from nature – vibrant flowers, intricate leaves, or the mesmerizing hues of a sunset. Nature’s palette is boundless.
- Geometric Wonders: Embrace the magic of geometry. Triangles, hexagons, or abstract shapes can add a modern touch to your designs.
Remember, there are no limits to your creativity. Let your ideas take flight, and watch as your designs become a reflection of your unique artistic spirit.
How to Ensure Longevity of the Printed Image on Card Stock: The Enchantment Seal
Now that you’ve poured your heart into creating magical designs, let’s ensure they withstand the tests of time. Here’s a spell for ensuring the Longevity of the Printed Image on Card Stock:
- Protective Coating: Consider applying a clear protective coating over your prints. This shields them from the elements and adds an extra layer of durability.
- Mind the Elements: While card stock is sturdy, avoid exposing your prints to extreme conditions like excessive heat or moisture. Store them in a cool, dry place for maximum longevity.
- Handle with Care: Treat your printed creations with the care they deserve. Gentle handling minimizes the risk of scratches or damage.
Card Stock Printing Ideas and Projects
Hello creative minds! Now, let’s dive into a magical world where your designs on card stock become real-life wonders. Get ready for some exciting Card Stock Printing Ideas and Projects that are as easy as a breeze and as fun as playing with colors.
Showcase of Unique DIY Projects Using Sublimation on Card Stock: Crafty Magic
- Cool Greeting Cards: Turn plain cards into special ones! Make birthdays, holidays, and celebrations extra colorful with your own designs.
- Awesome Bookmarks: Make reading more fun with unique bookmarks. Design ones with your favorite themes or match them to your best-loved books.
- Beautiful Wall Art: Fancy giving your room a makeover? Create cool designs for your walls. It’s like making your room your canvas.
- Personalized Photo Frames: Keep your memories in style. Design photo frames that are as special as the moments they hold.
- Fancy Coasters: Impress your guests with personalized coasters. Make them look fancy with your own designs.
Creative Applications in Home Decor, Gifting, and More: The Artistic Adventure
- Home Decor Ideas: Make your space uniquely yours. Design things like door signs or wall hangings to make your home special.
- Cool Gifts: Surprise your friends and family with special gifts. Make mugs, keychains, or even puzzle sets with your creative touch.
- Stationery Fun: Upgrade your school or office supplies. Design your own notepads, sticky notes, or even cool journal covers.
- Event Invitations and Announcements: Throw a cool party or share exciting news with personalized invitations. Make your announcements extra special.
Real-World Examples to Inspire Readers: Peek into Creative Lives
Local Artists Doing Cool Things: Check out artists in your town creating colorful murals, posters, and art projects for everyone to enjoy.
People Making Money Doing What They Love: Meet folks who turned their love for design into a business. They sell things like custom clothes and unique home decor.
Teachers Bringing Art to Class: See how teachers use card stock to make art fun in school. You can learn and have fun at the same time!
Troubleshooting and Common Mistakes
Hey there, creative wizards! Now that you’re on this card stock sublimation adventure, let’s talk about those tricky spots where things might get a bit puzzling. No worries, though – we’ve got your back. Welcome to the realm of Troubleshooting and Common Mistakes, where we’ll unravel some mysteries and keep your creative journey smooth.
Addressing Potential Challenges in Sublimating on Card Stock: The Road Bumps
- Dull Colors? Boost the Heat: If your colors aren’t as vibrant as you hoped, try turning up the heat a bit. Adjust your heat press settings to ensure the magic happens just right.
- Blurred Images? Secure Your Design: A blurry print can happen if your sublimation paper moves during the pressing. Make sure it’s securely taped down to avoid any unexpected dance moves.
- Uneven Prints? Check the Pressure: Uneven pressure can be a sneaky culprit. Ensure your heat press is applying consistent pressure across the entire surface for that picture-perfect result.
Tips for Troubleshooting and Avoiding Common Mistakes: The Spellbook of Wisdom
- Test, Test, Test: Before diving into your main project, do a test run on a small piece of card stock. It’s like rehearsing your spell before the big show – ensures everything works smoothly.
- Mind the Timer: Timing is everything in the magical world of sublimation. Set a timer and be consistent with it. Too short, and the magic might not happen; too long, and you might end up with a different kind of enchantment.
- Keep Your Workspace Clean: Dust and debris are like mischievous imps that can ruin your prints. Keep your workspace clean to avoid unexpected surprises on your card stock canvas.
FAQs
Can I sublimate on wood?
Yes, you can! Sublimating on wood is like adding a magical touch. The wood needs to have a special coating that accepts the sublimation ink. Look for products labeled “sublimation wood blanks” for the best results.
What Dollar Tree items can you sublimate on?
Dollar Tree has some cool items for sublimation. You can try mugs, coasters, and even certain types of picture frames. Just make sure the item has a coating that works with sublimation.
Can you sublimate on metal?
Absolutely! Sublimating on metal can create stunning results. Look for metal sheets or objects with a sublimation coating. This could be metal panels designed for sublimation or metal items with a polyester coating.
Do I need special paper for sublimation printing?
Yes, indeed. Regular paper won’t work its magic here. You need sublimation paper, which is designed to handle the transformation of ink into a gas during the printing process.
Is sublimation paper the same as heat transfer paper?
Not quite. While they might seem similar, they have different purposes. Sublimation paper is made for sublimation ink, turning into gas and bonding with the material. Heat transfer paper is for transferring designs to fabrics using heat but doesn’t involve the ink-to-gas magic.
What can I use instead of butcher paper for sublimation?
If you’re out of butcher paper, parchment paper can step in. It helps evenly distribute heat during the pressing process. Just make sure it’s heat-resistant and won’t stick to your project.
Conclusion
Congratulations, magical creators! You’ve embarked on a captivating journey through the enchanting world of sublimation on card stock. As we draw the curtain on this guide, let’s recap the key points, sprinkle a bit of encouragement, and send you off with a call-to-action that echoes through the realms of creativity.
Recap of Key Points: A Glimpse Back
We started by unraveling the basics of sublimation printing – the art of turning ink into a magical gas that dances with the fibers of card stock. Then, armed with the right materials and equipment, you learned the delicate dance of bringing your designs to life on that sturdy canvas.
We explored the advantages of sublimating on card stock – the durability, vibrant colors, and endless creative possibilities. We delved into the intricacies of achieving optimal results, ensuring your prints are not just vibrant but also timeless.
Our creative adventure continued with a showcase of DIY projects, from personalized greeting cards to unique wall art. We explored real-world examples and peeked into the lives of those turning passion into profit with sublimation on card stock.
Encouragement for Readers: Unleash Your Inner Wizard
Now, here’s a magical truth: creativity knows no bounds. As you navigate this realm of sublimation on card stock, let your imagination soar. Experiment, make mistakes, and learn from them. Each creation is a step in your magical journey, and every hiccup is a chance to discover new spells.
Remember, there’s no “right” or “wrong” in the magical world of art – only endless possibilities waiting for your touch. Embrace the joy of creating, and let your unique voice shine through your designs.
Call-to-Action: Share Your Creative Tales
As you embark on your own adventures in sublimation, we invite you to be a beacon of inspiration for fellow wizards. Share your experiences, projects, and the magic you’ve conjured up. Your creativity might be the spark that lights up someone else’s creative fire.
Connect with us and your fellow creators on social media, or drop us a message. We’re eager to hear your tales of triumph, your experiments, and the unique marks you’ve left on the canvas of card stock.
More Helpful Stuff
Nice job finishing your creative journey with sublimation on card stock! As you keep going, here are some extra tools to help you learn more and keep having fun:
Where to Get Your Magic Supplies: Good Places to Shop
Dye Sublimation Supplies: This store has all kinds of things for sublimation – inks, blanks, and tools.
Heat Press Nation: They have different heat presses and things you can use for sublimation.
Coastal Business Supplies: This place has a bit of everything – things to print on, printers, and more.
Books and Websites to Learn More: Dive Deeper into the Magic
Dye Sublimation Printing Guide: A guide that explains the basics of dye sublimation printing.
Understanding Sublimation Printing: This one gives you a good overview of sublimation printing and what you can do with it.
Sublimation on Different Materials: Learn about sublimation on lots of different things, not just paper.
Videos and Guides to Get Better: Level Up Your Magic Skills
Advanced Sublimation Printing Techniques: Watch videos and guides to learn more advanced sublimation techniques.
Sublimation Tips and Tricks: Get extra tips to make your sublimation printing even better.
Sublimation Troubleshooting Guide: Solve common problems and become a sublimation wizard.

I’m Nicholas Clark, the creative soul behind “Sublimes Print.” I’ve been bringing ideas to life with ink and paper, and I want you to be a part of it. At Sublimes Print, we’re all about making your prints a masterpiece. Join me in the creative journey at Sublimes Print, where every print tells a unique story!